Getting Started Guide for Custom Reports
Welcome to Custom Reports! This comprehensive guide is designed to assist you in creating your first custom report. Let's get started:
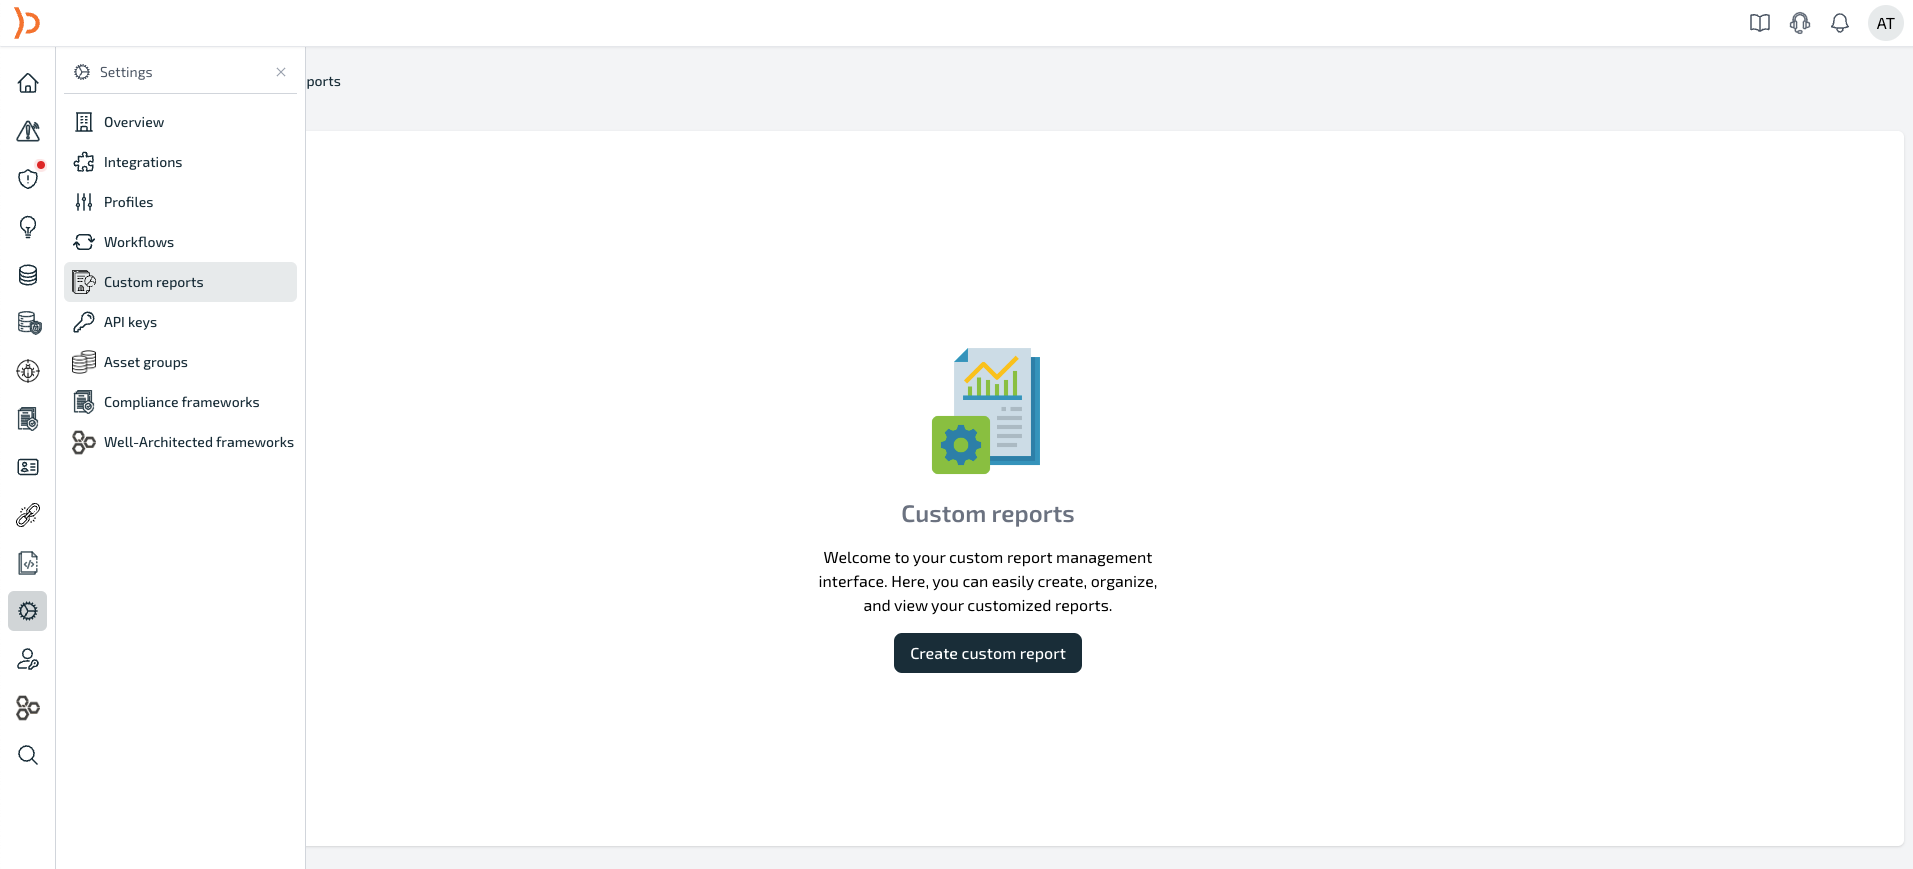
1. Accessing Custom Reports
To access the Custom Reports section, simply navigate to your dashboard and click on Settings, then proceed to Custom Report. This is your starting point for crafting reports tailored to your precise requirements.
2. Creating Your First Report
Click on the "Create Custom Report" button to initiate the report-building process. You'll be guided to a user-friendly interface designed for easy customization.
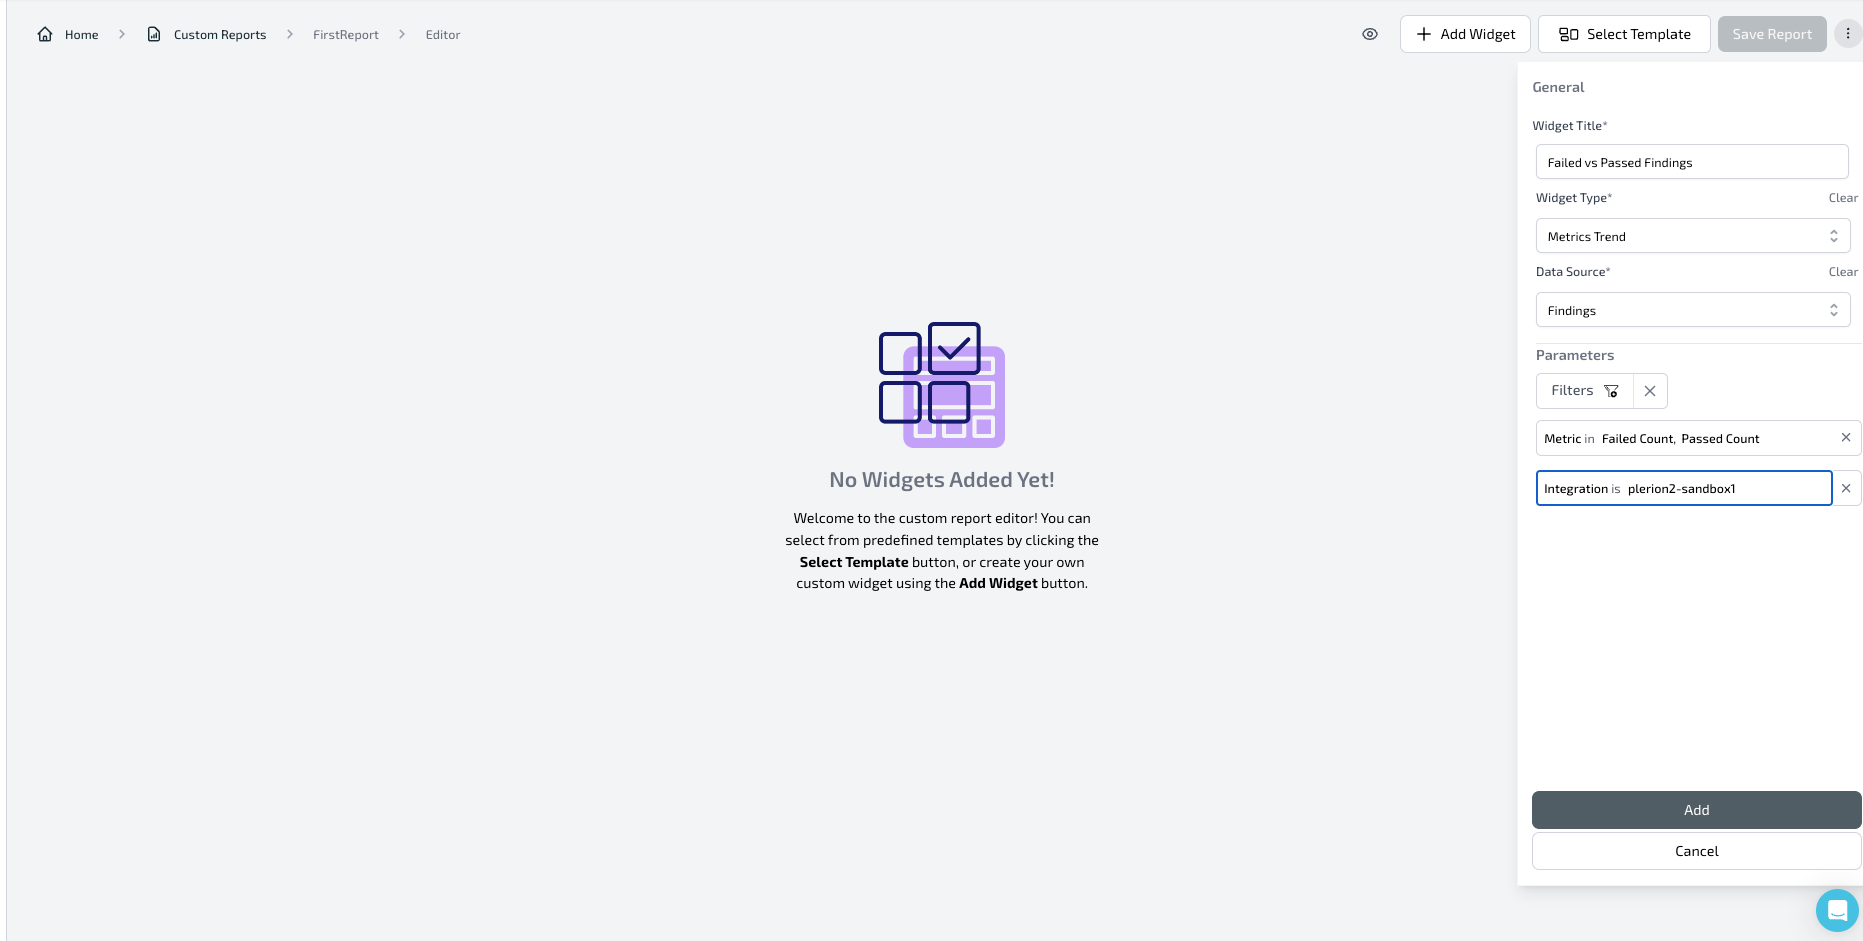
3. Choosing Widget Types
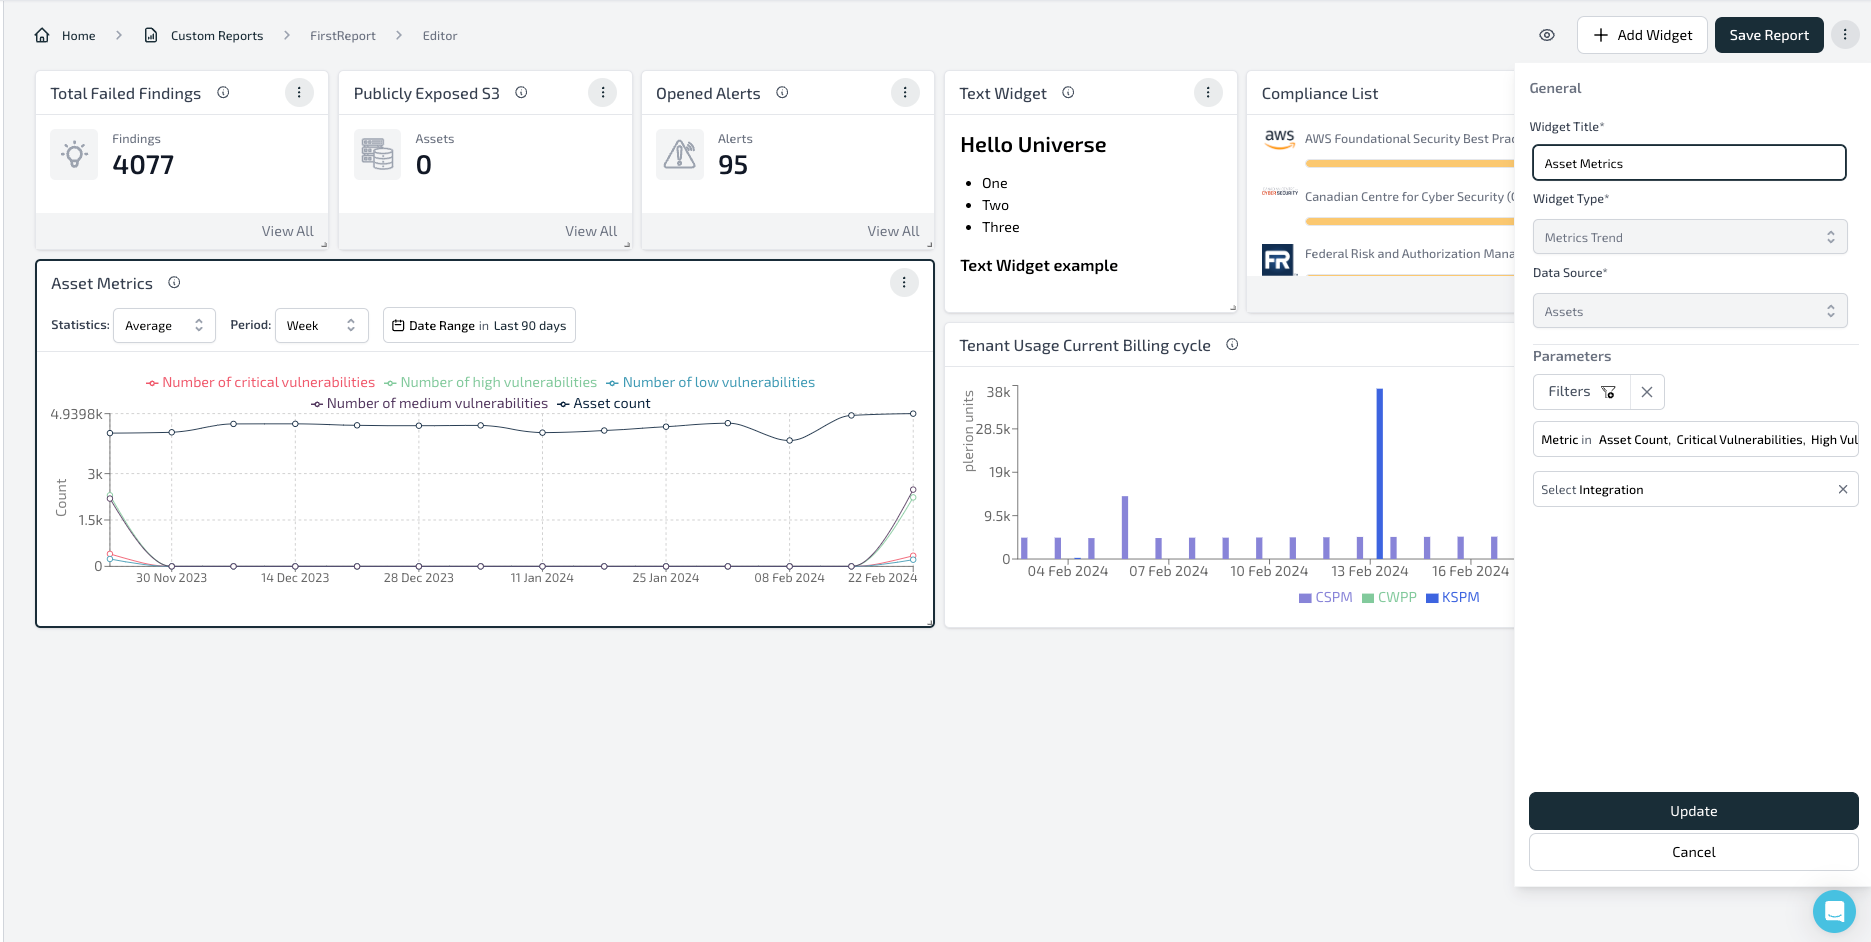
Choose the widget types that most accurately represent the data you wish to visualize. Whether it's counts, trends, lists, or tables, select the options that align with your specific reporting needs.
4. Picking Data Sources
Choose the relevant data sources for your widgets. Options include assets, findings, alerts, and more. The combination of widget types and data sources determines the dynamic filters available to you.
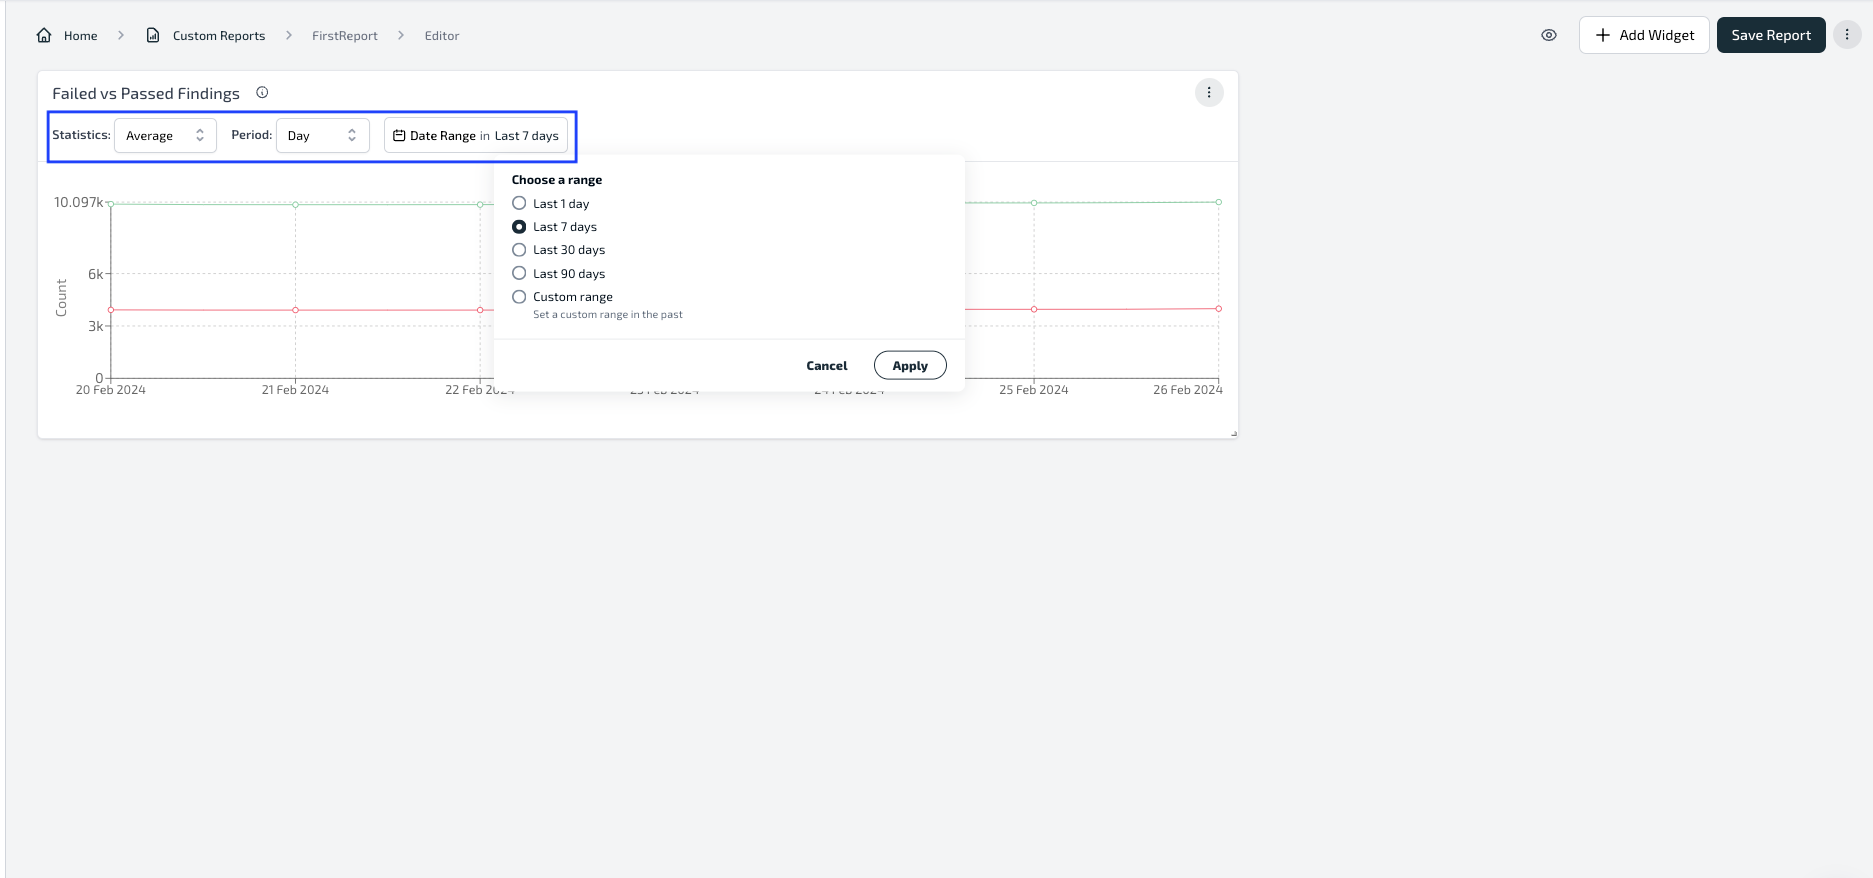
5. Applying Filters
Refine your report further by applying filters that correspond to your selected widget types and data sources. These filters enable you to concentrate on particular aspects of your data, offering a more focused and tailored perspective.
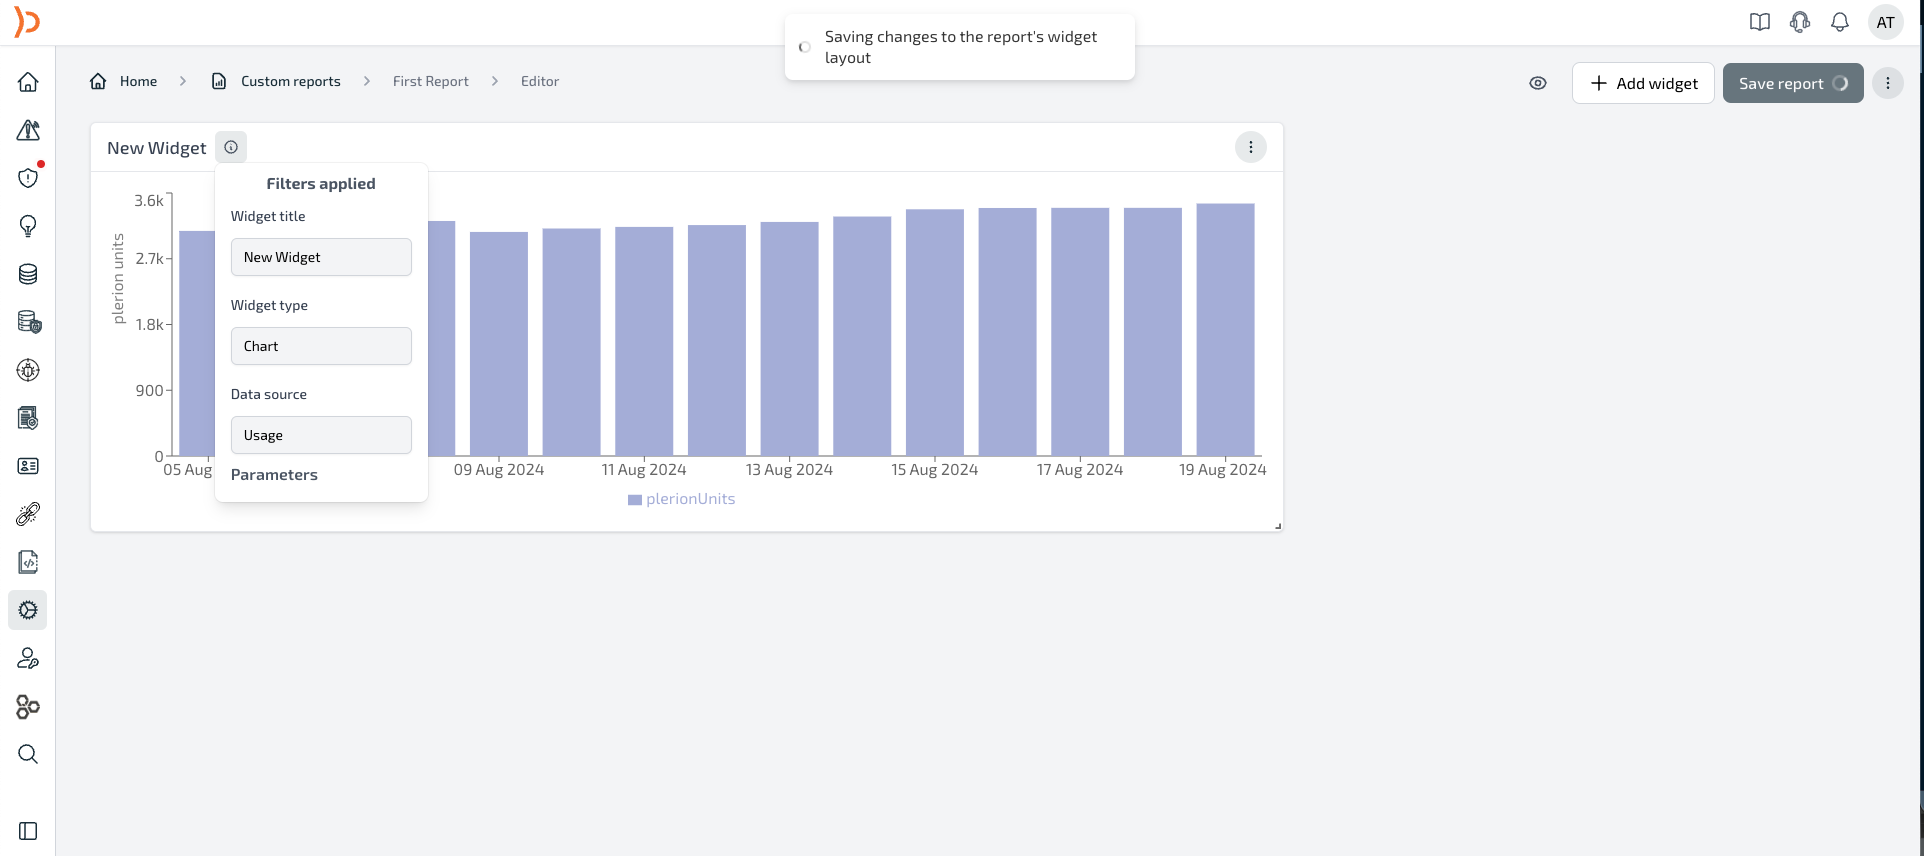
7. Saving Your Configuration
Once satisfied with your custom report setup, save your configurations. This ensures that you can conveniently reference and revisit your report in the future as needed.
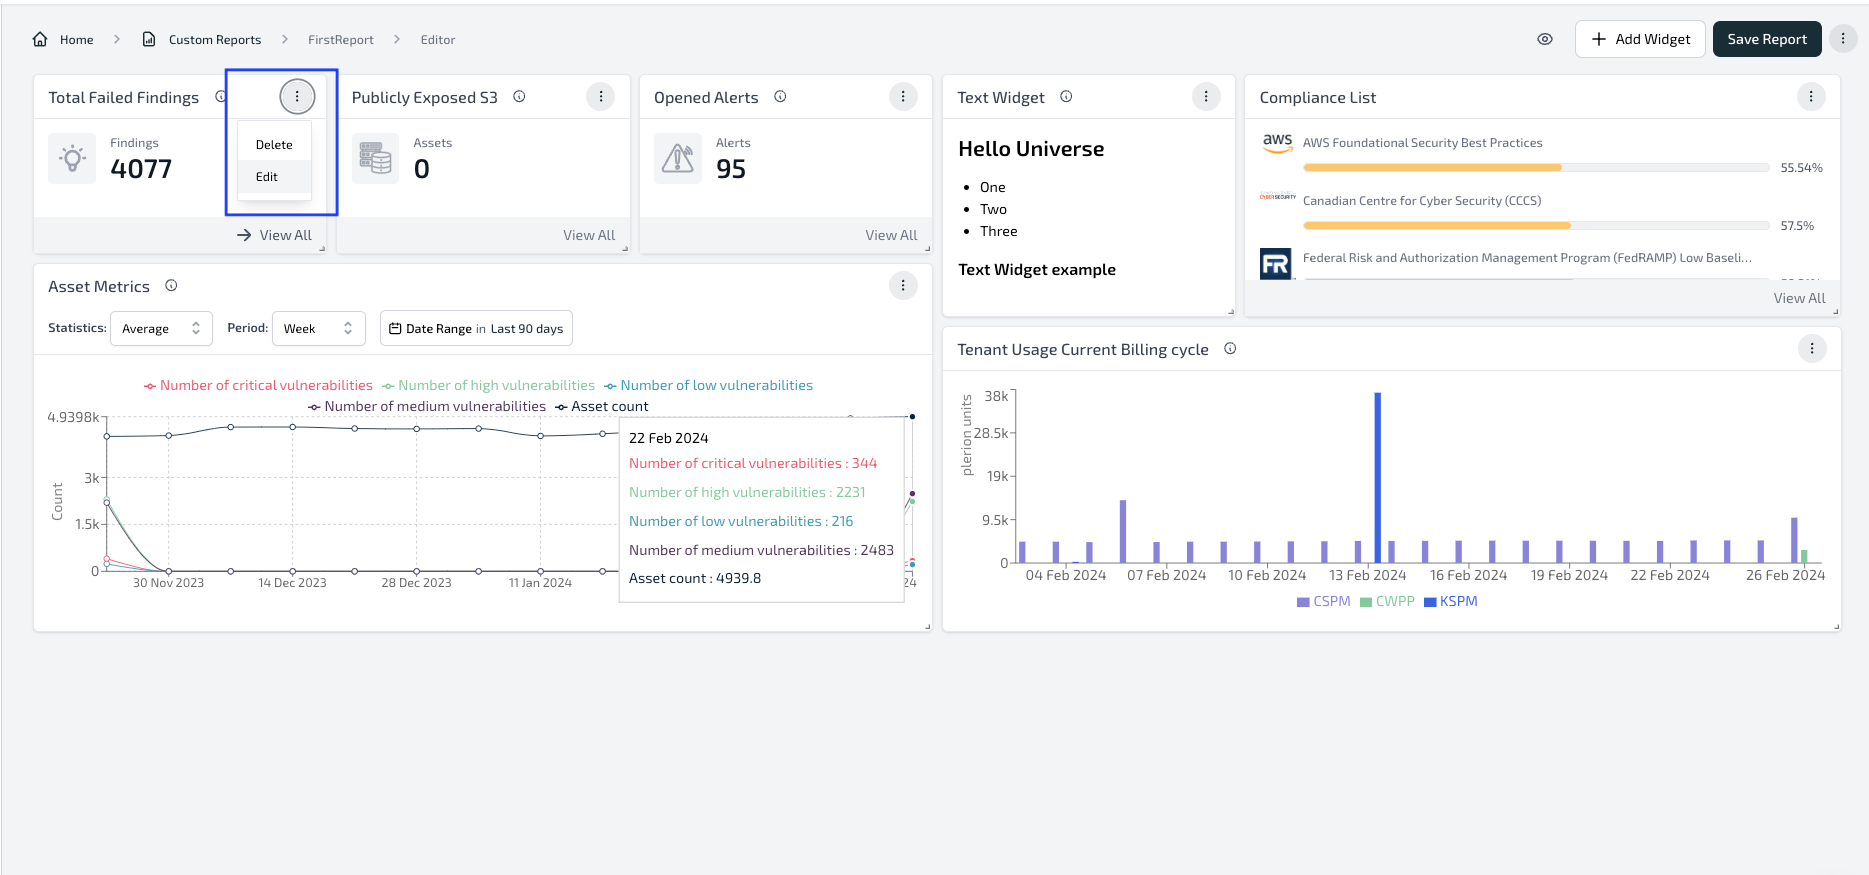
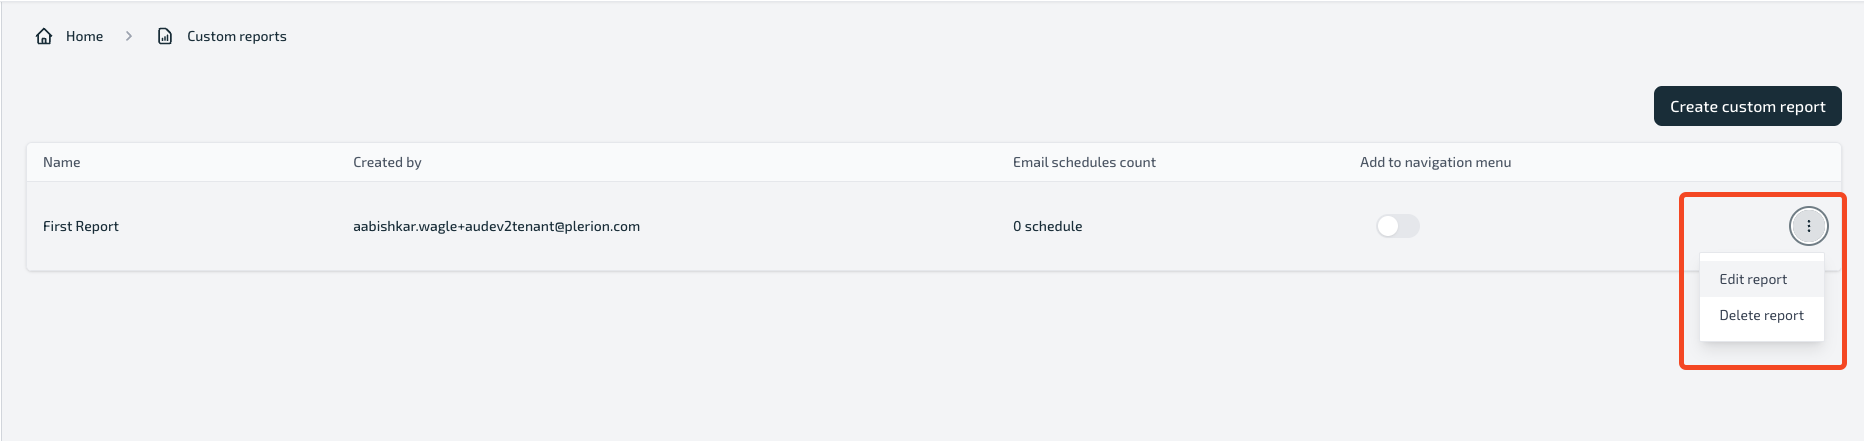
8. Managing Reports
Easily manage your reports by updating, editing, or deleting them, and customize your preferences with simple editing, deleting, and rearranging of widgets.
Note: Click the 'Save Report' button to apply your changes. Otherwise, your modifications will not be saved
9. Scheduling Reports
You can receive reports in your email as PDF attachments by setting up a delivery schedule based on your preferred frequency. This automation ensures that the information you need is delivered straight to your inbox at the intervals you specify.

Note: Before scheduling custom reports for email delivery, it's essential to ensure that the Email Outbound Integration is properly configured. For detailed instructions on how to set this up, please refer to the provided documentation
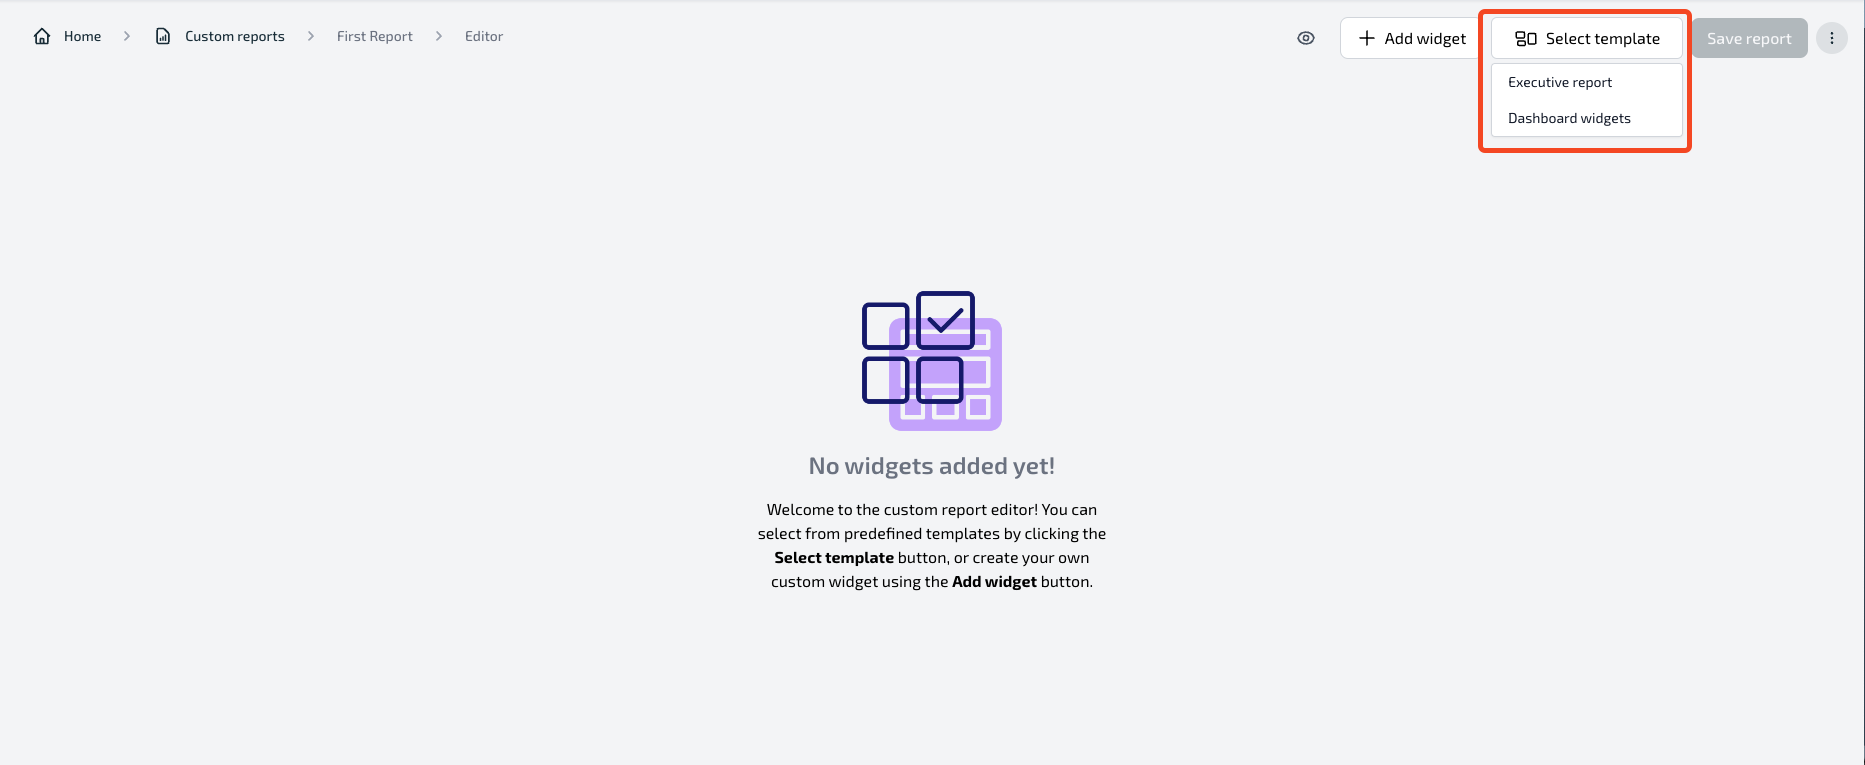
10. Exploring Templates
For simplicity, explore predefined templates, such as the 'Executive Report,' to quickly populate your report with widgets tailored for executive-level insights.
Congratulations! You've successfully created your first custom report. Feel free to explore advanced features and options as you become more familiar with the Custom Reports functionality.