Okta Single Sign-on
This guide will walk you through the steps of setting up Okta Single Sign-on (SSO) with the Plerion Platform. By the end of this guide, you will have successfully configured SSO and Authorization for your application.
To ensure a smooth setup experience, we strongly recommend that you use two different browser sessions or different browsers while configuring Okta and the Plerion Platform. Using different browsers or sessions will prevent any potential conflicts or issues that may arise from sharing the same session.
Setting up your application on Okta
-
Sign in to your Okta Account
-
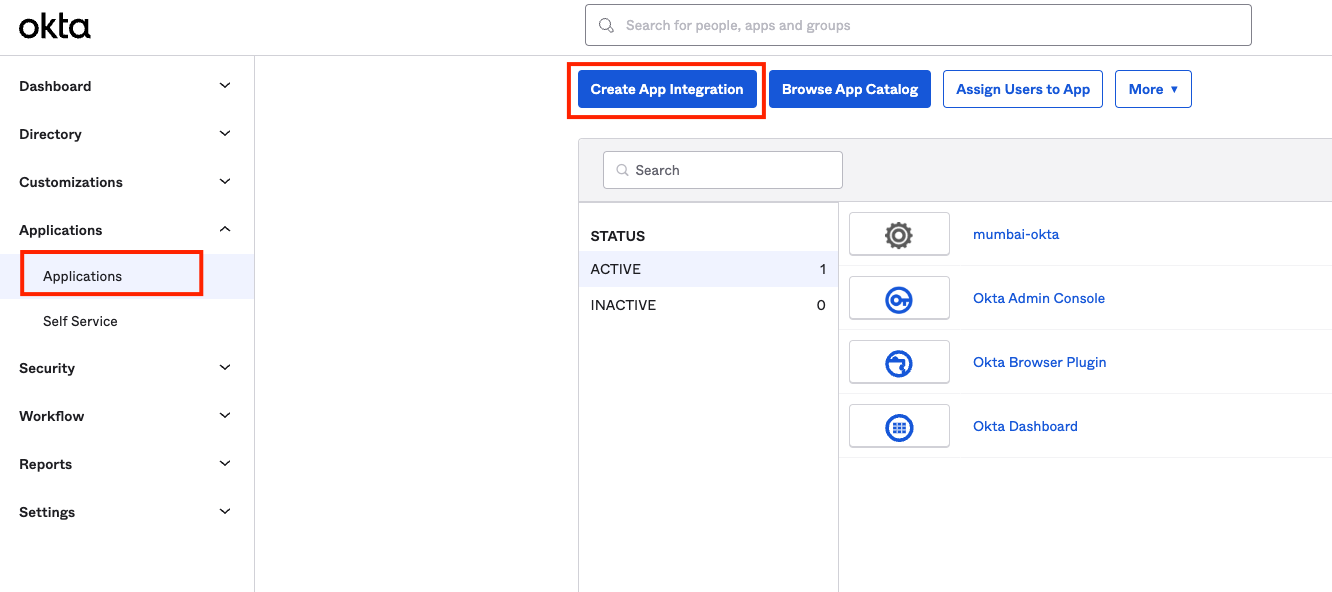
Once logged in, navigate to Applications and select Create App Integration
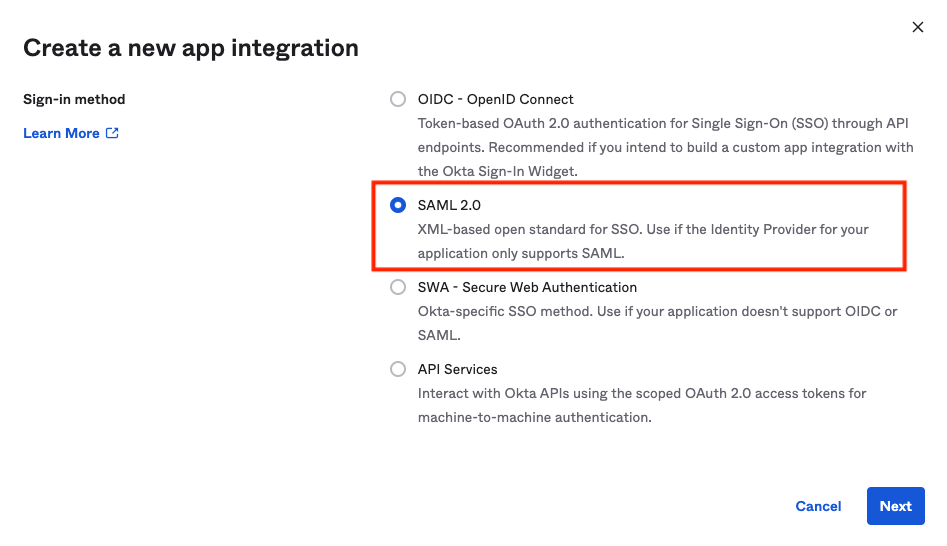
- Select SAML 2.0 and Click Next
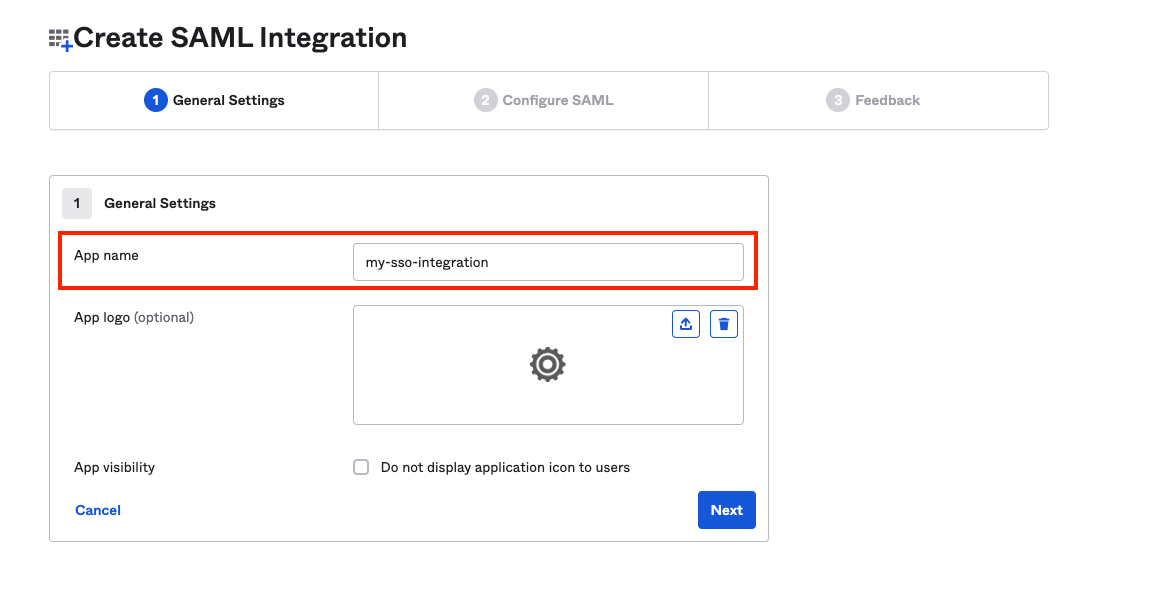
- Provide an App Name and Click Next
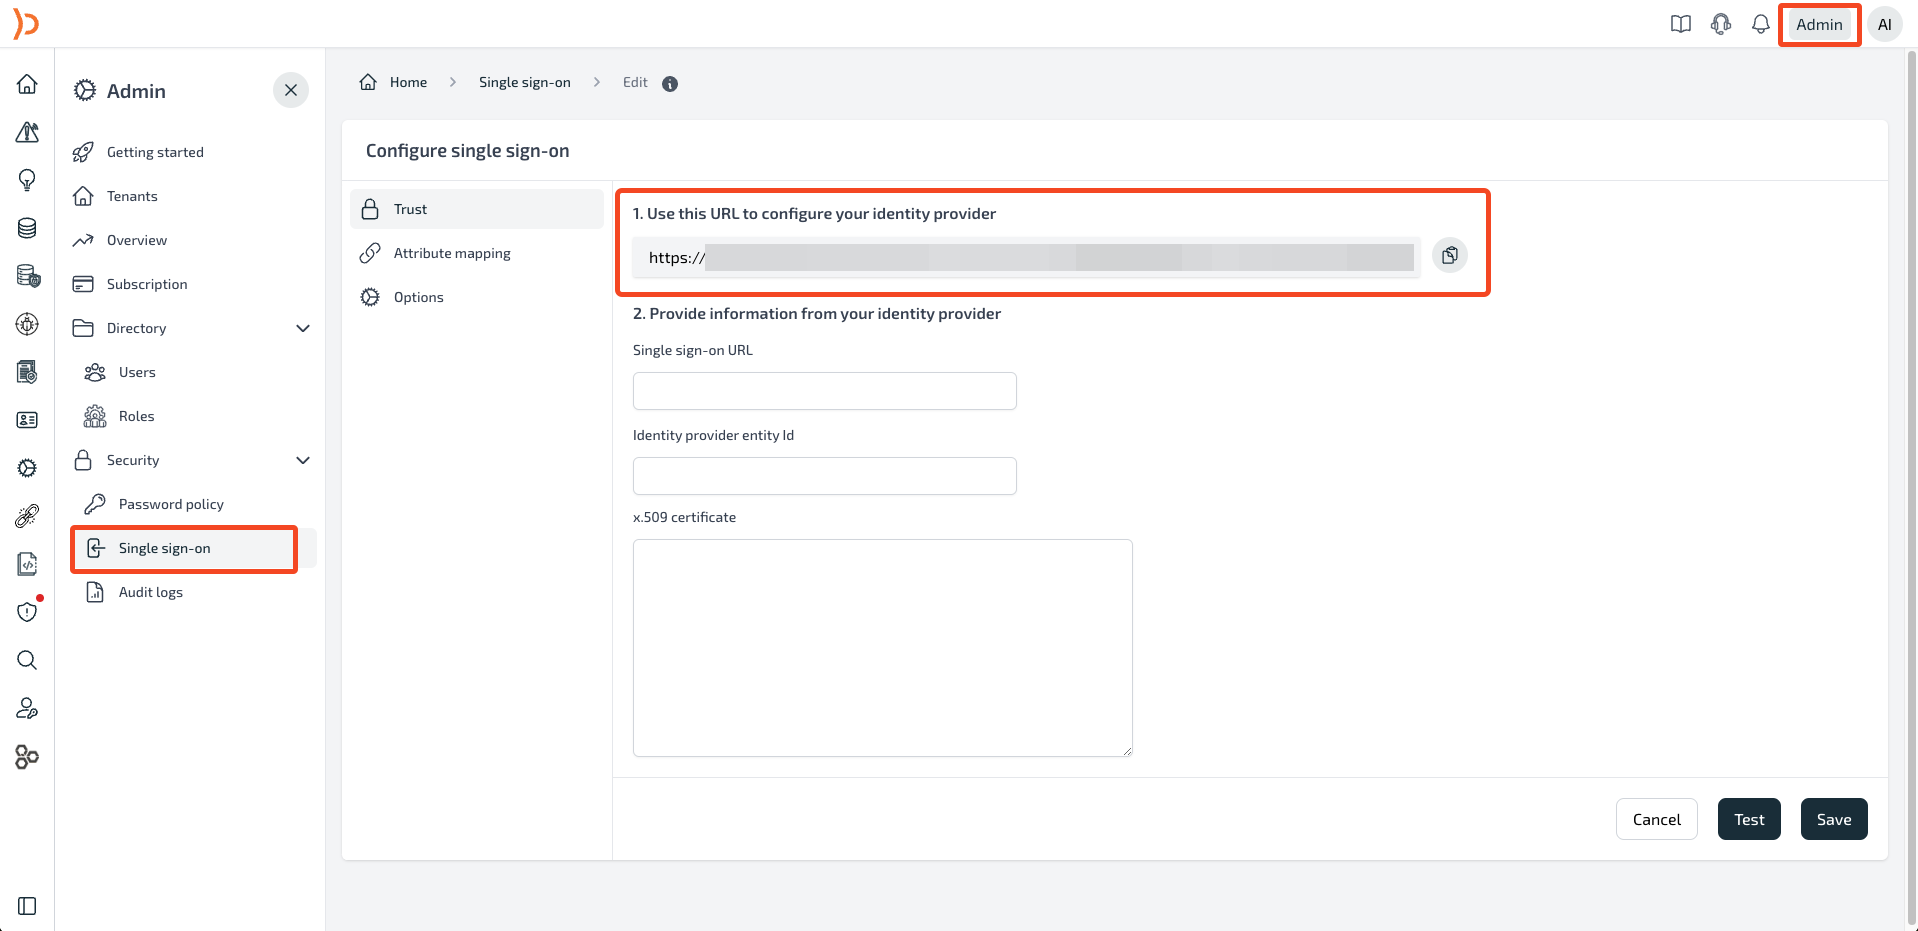
- On Plerion Protection Platform, Navigate to Admin -> Security -> Single Sign-On, and copy the #1 URL
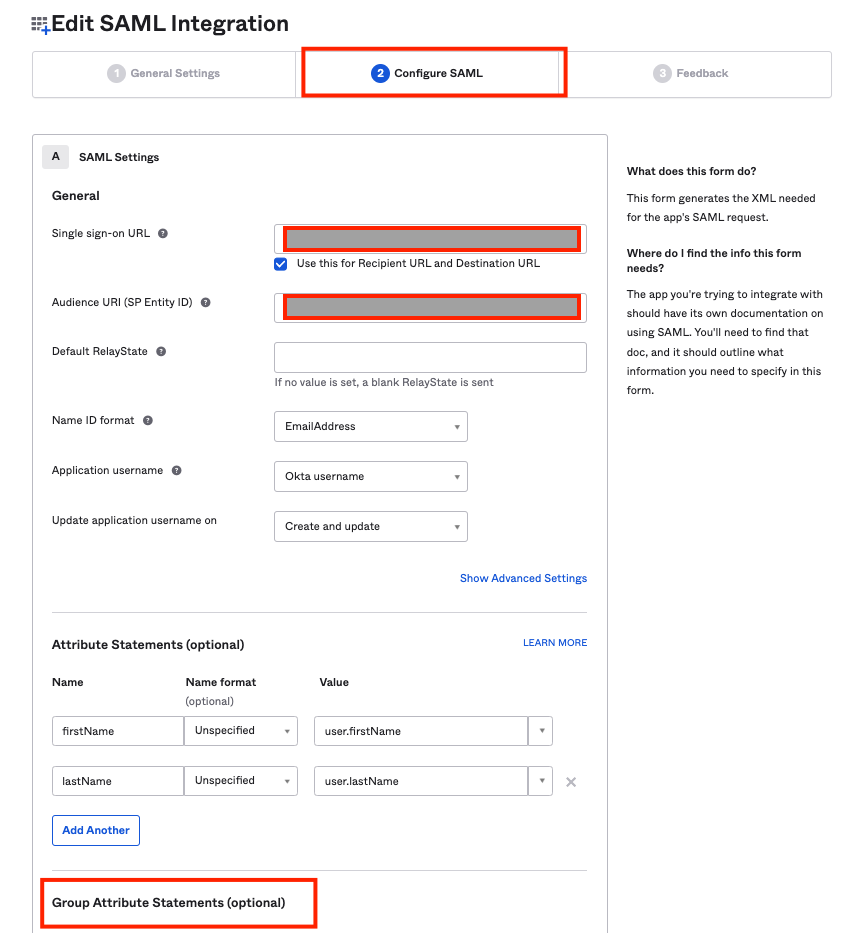
- On Okta, paste the copied URL in the Single Sign On URL and Audience URI (SP Entity ID) fields
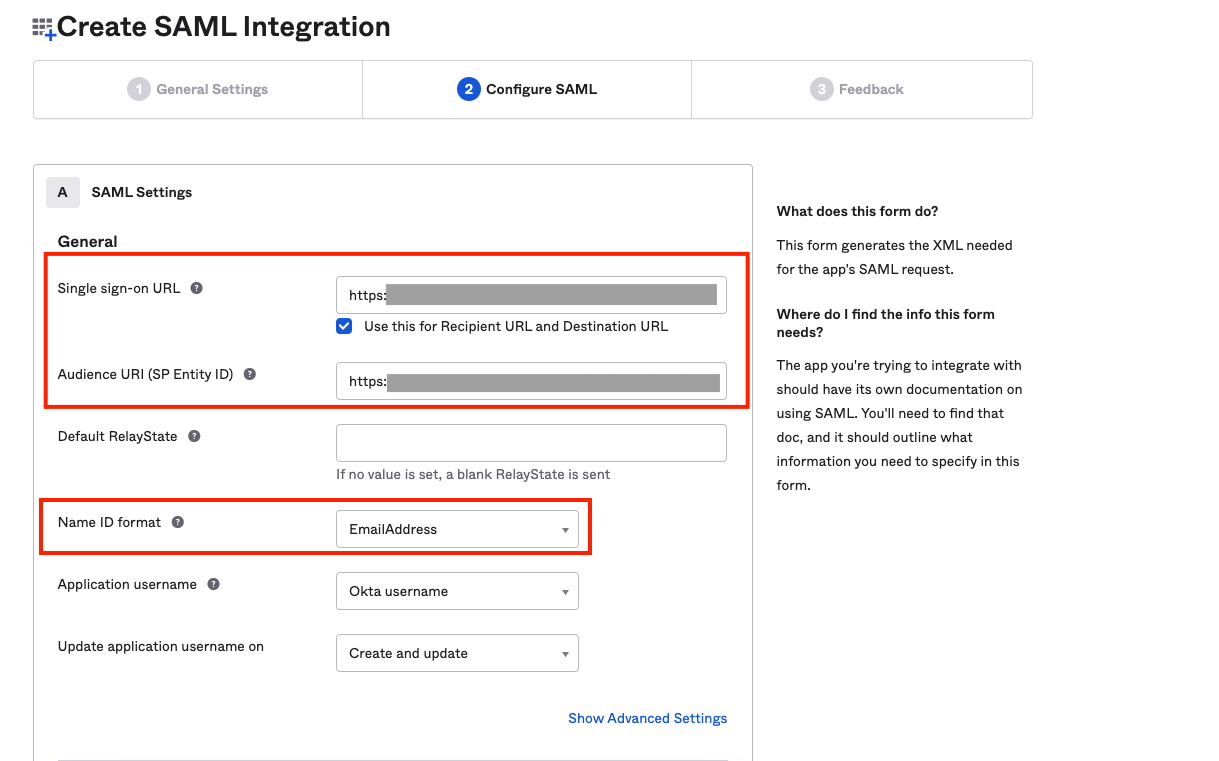
-
Select Name ID Format as Email Address
-
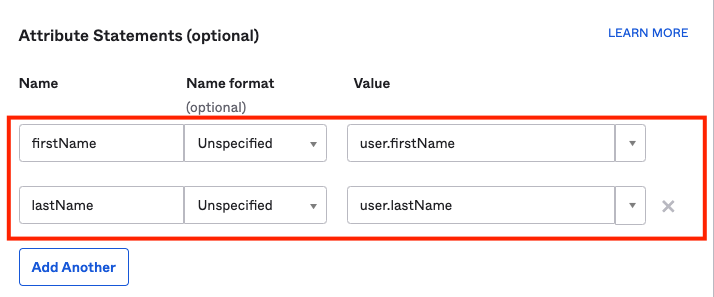
For Attribute Statement provide the input and select Next.
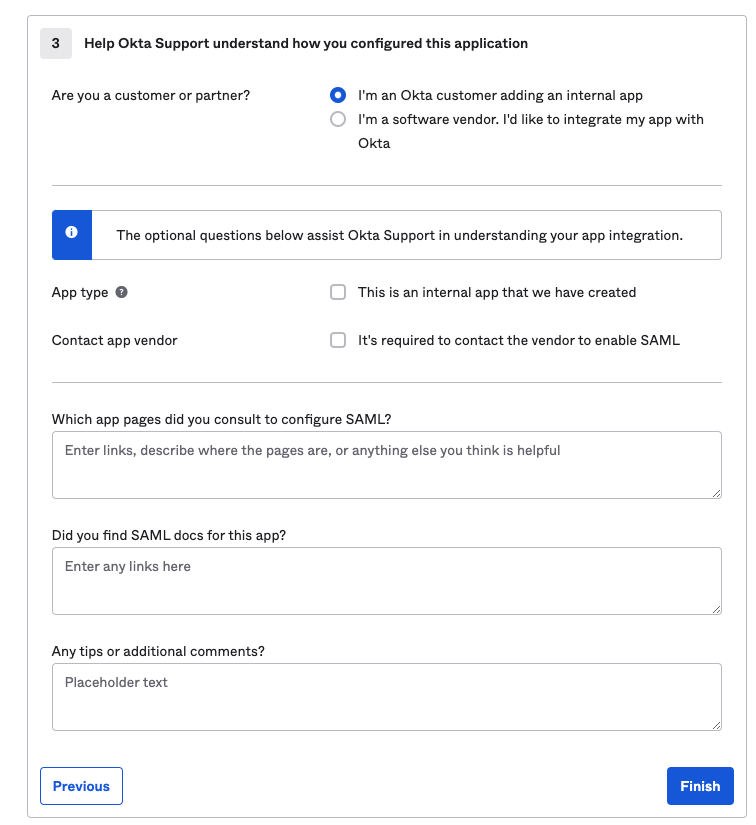
- Select your preference and click Finish
Add User to your Okta Application
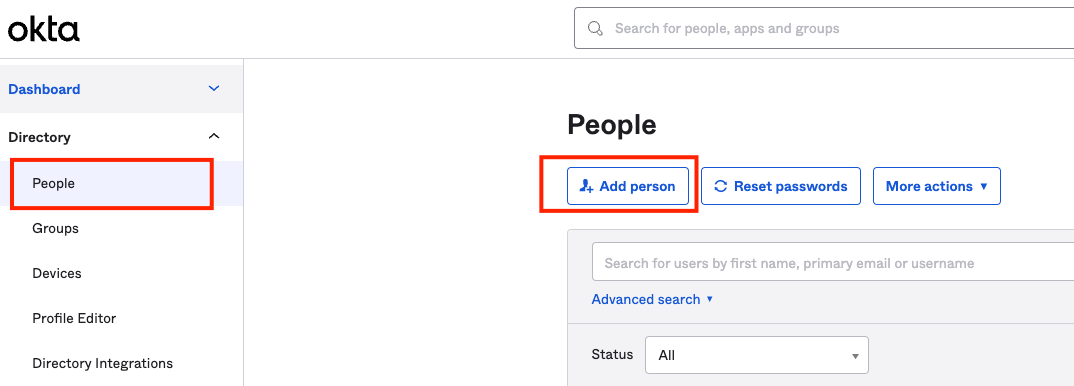
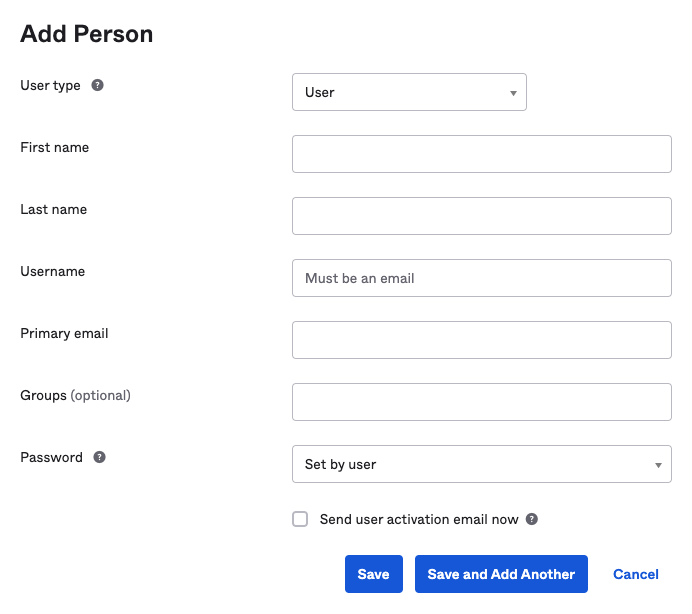
- On your Okta Account, navigate to Directory and select People. Click on Add Person to add your user.
- Provide all inputs and click Save
- Navigate to the Okta Application you've recently created. In the Assignments tab, Select Assign drop-down and select Assign to People. Assign the newly created user and click Done.
Single Sign-On Configuration on the Plerion Platform
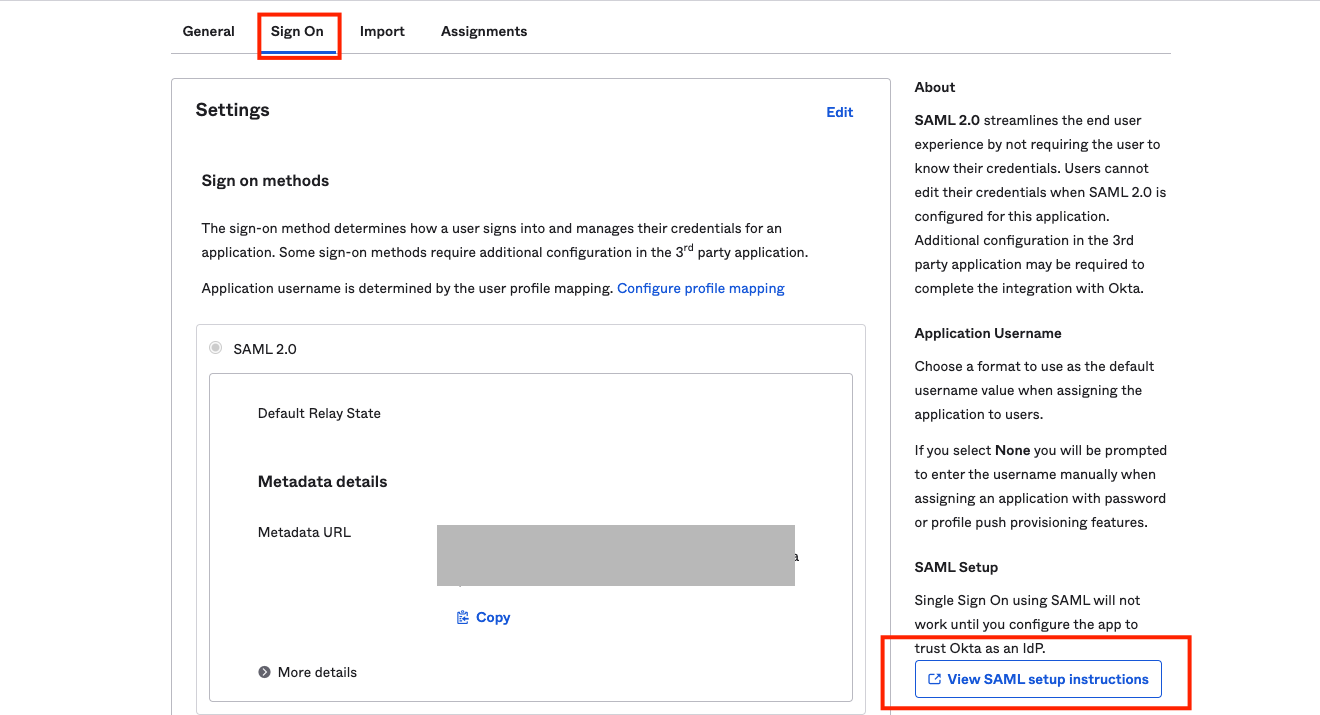
- Navigate to your application and Click on Sign On. On the right-hand side, Click View SAML Setup Instructions
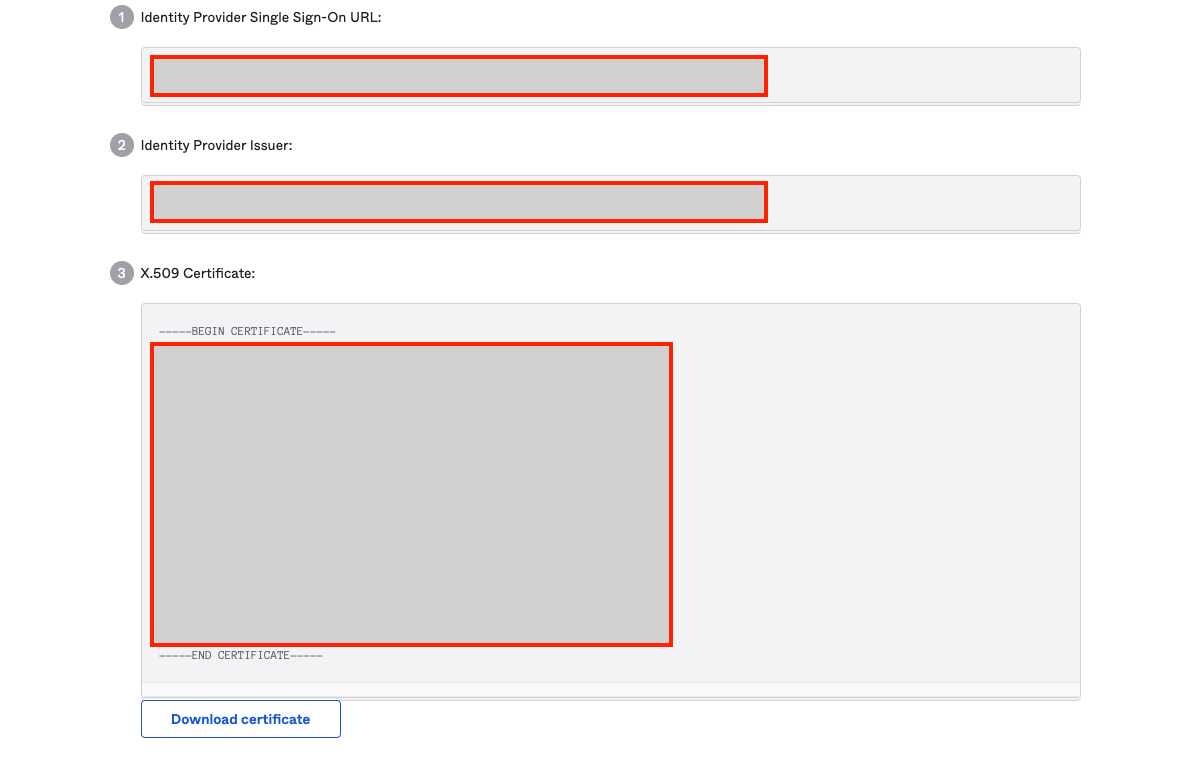
- Copy the Single Sign On URL, Identity Provider Issuer, and X.509 Certificate
- Navigate to Plerion Platform -> Admin -> Security -> Single Sign On and paste the values copied above to the fields in Step 2.
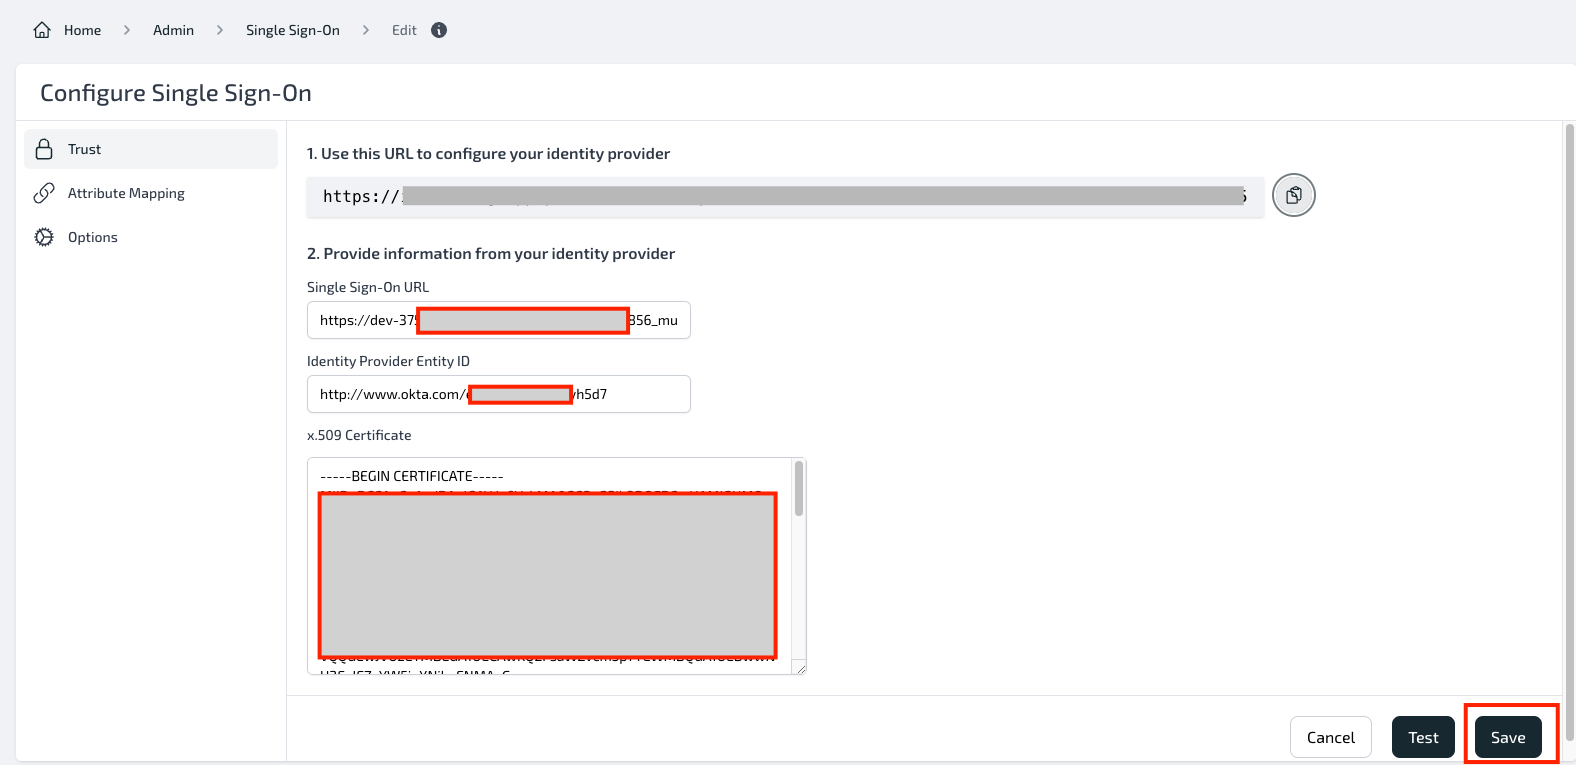
- Click on Test to see if you've successfully connected and configured. A pop-up window will appear where you can Sign in using the new user you've created in the Okta Application.
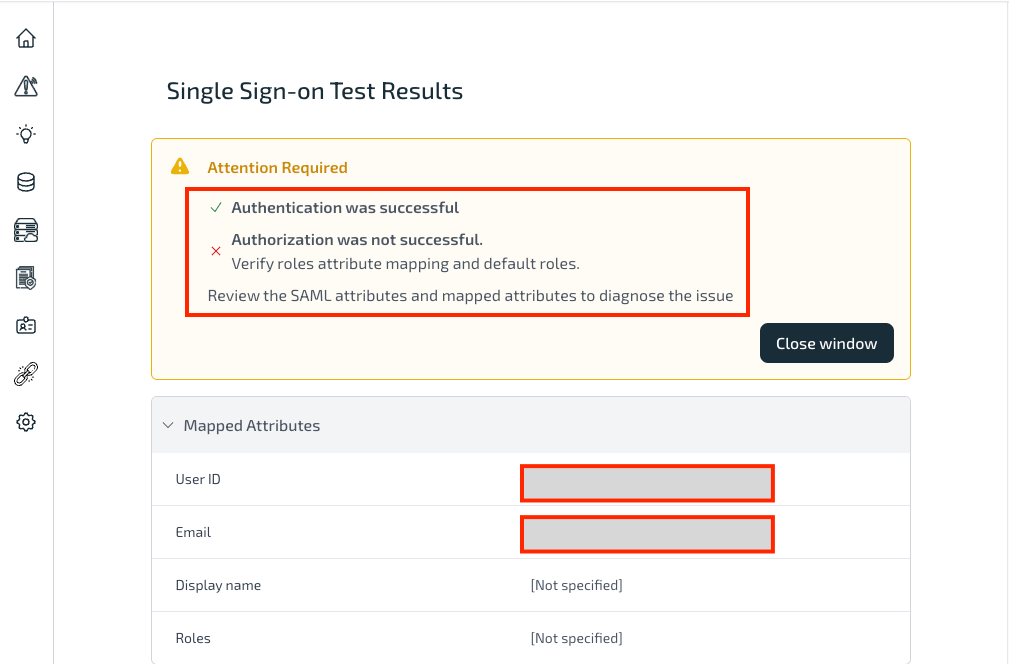
Congratulations! You've successfully configured your SSO configuration. Now, that the Authentication is successful, let us configure the Authorization. For successful Authorization, you will need to verify roles attribute mapping and roles.
Attribute Mapping and Roles
- On your Okta Account, Navigate to Directory and select Groups. Click on Add group.

- Provide a group name and Click Save. Use this group name for attribute mapping.

- Navigate to your Okta Application. Similar to Adding User, Go to the Assignments tab.
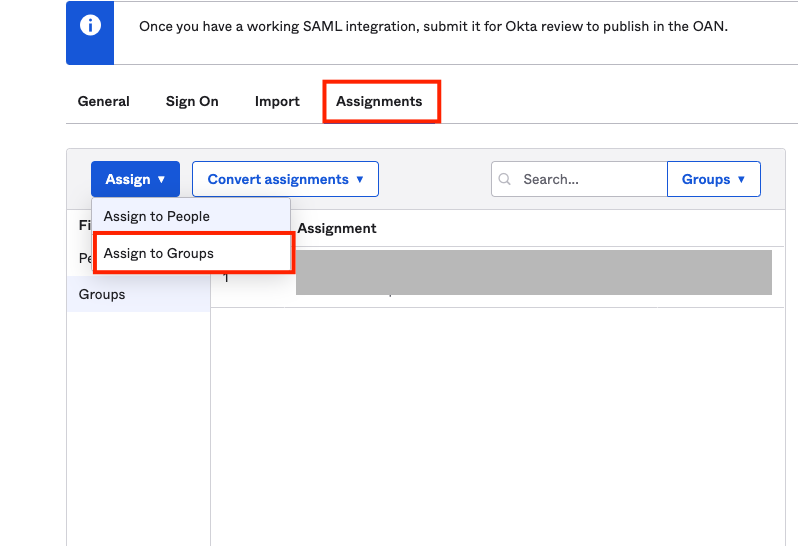
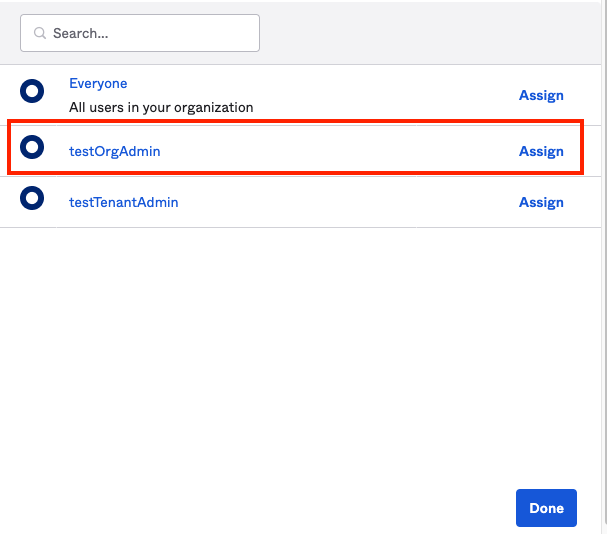
- Click Assign and Select Assign to groups. Click Assign to your newly created group and Click Done.
-
Click on your Group and Click Assign People. Assign (+) the user you've created in the first part of this guide.
-
On your Okta Application, navigate to the General tab. On the SAML settings, Click Edit.
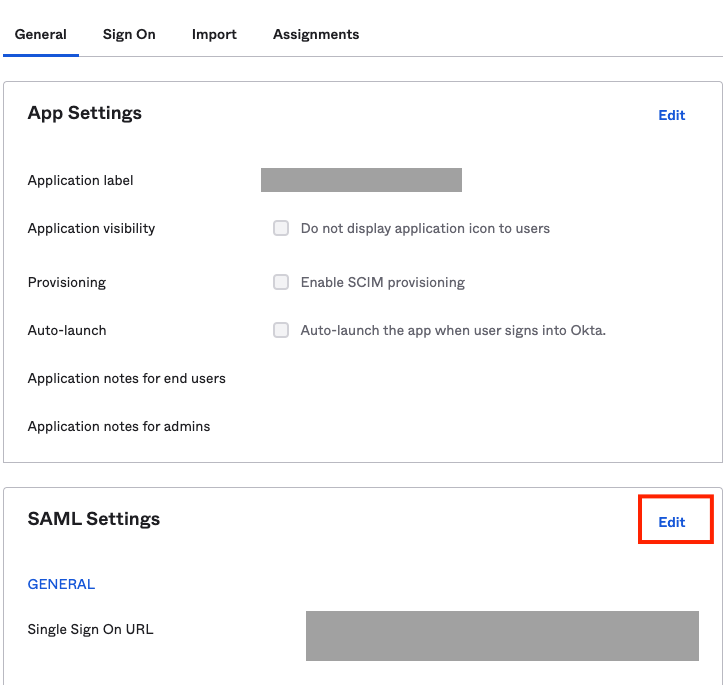
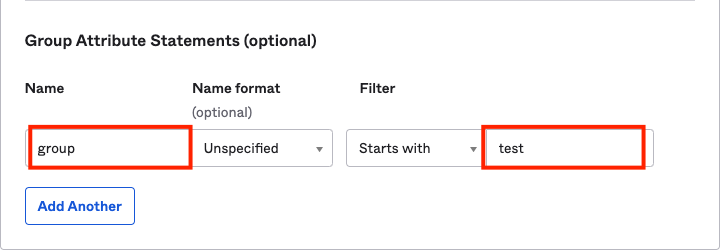
- Navigate to Configure SAML and configure the Group Attribute Statements.
Here, we have added the name as group which we will use as a SAML attribute in the Plerion Platform. Also, we've created a group in step 2 testOrgAdmin which starts with test. We will be using the same attribute filter here.
-
Click Next and Click Finish.
-
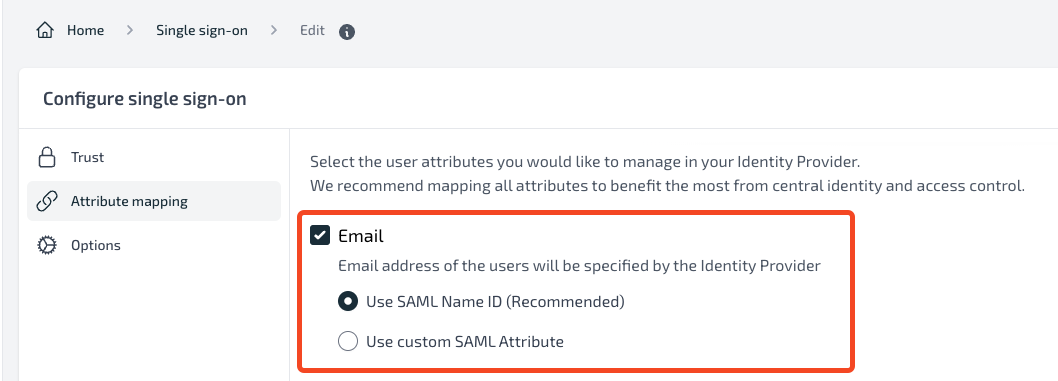
On the Single Sign On Page of the Plerion Platform, Click on Attribute Mapping. Click on Email and select Use SAML Name ID.
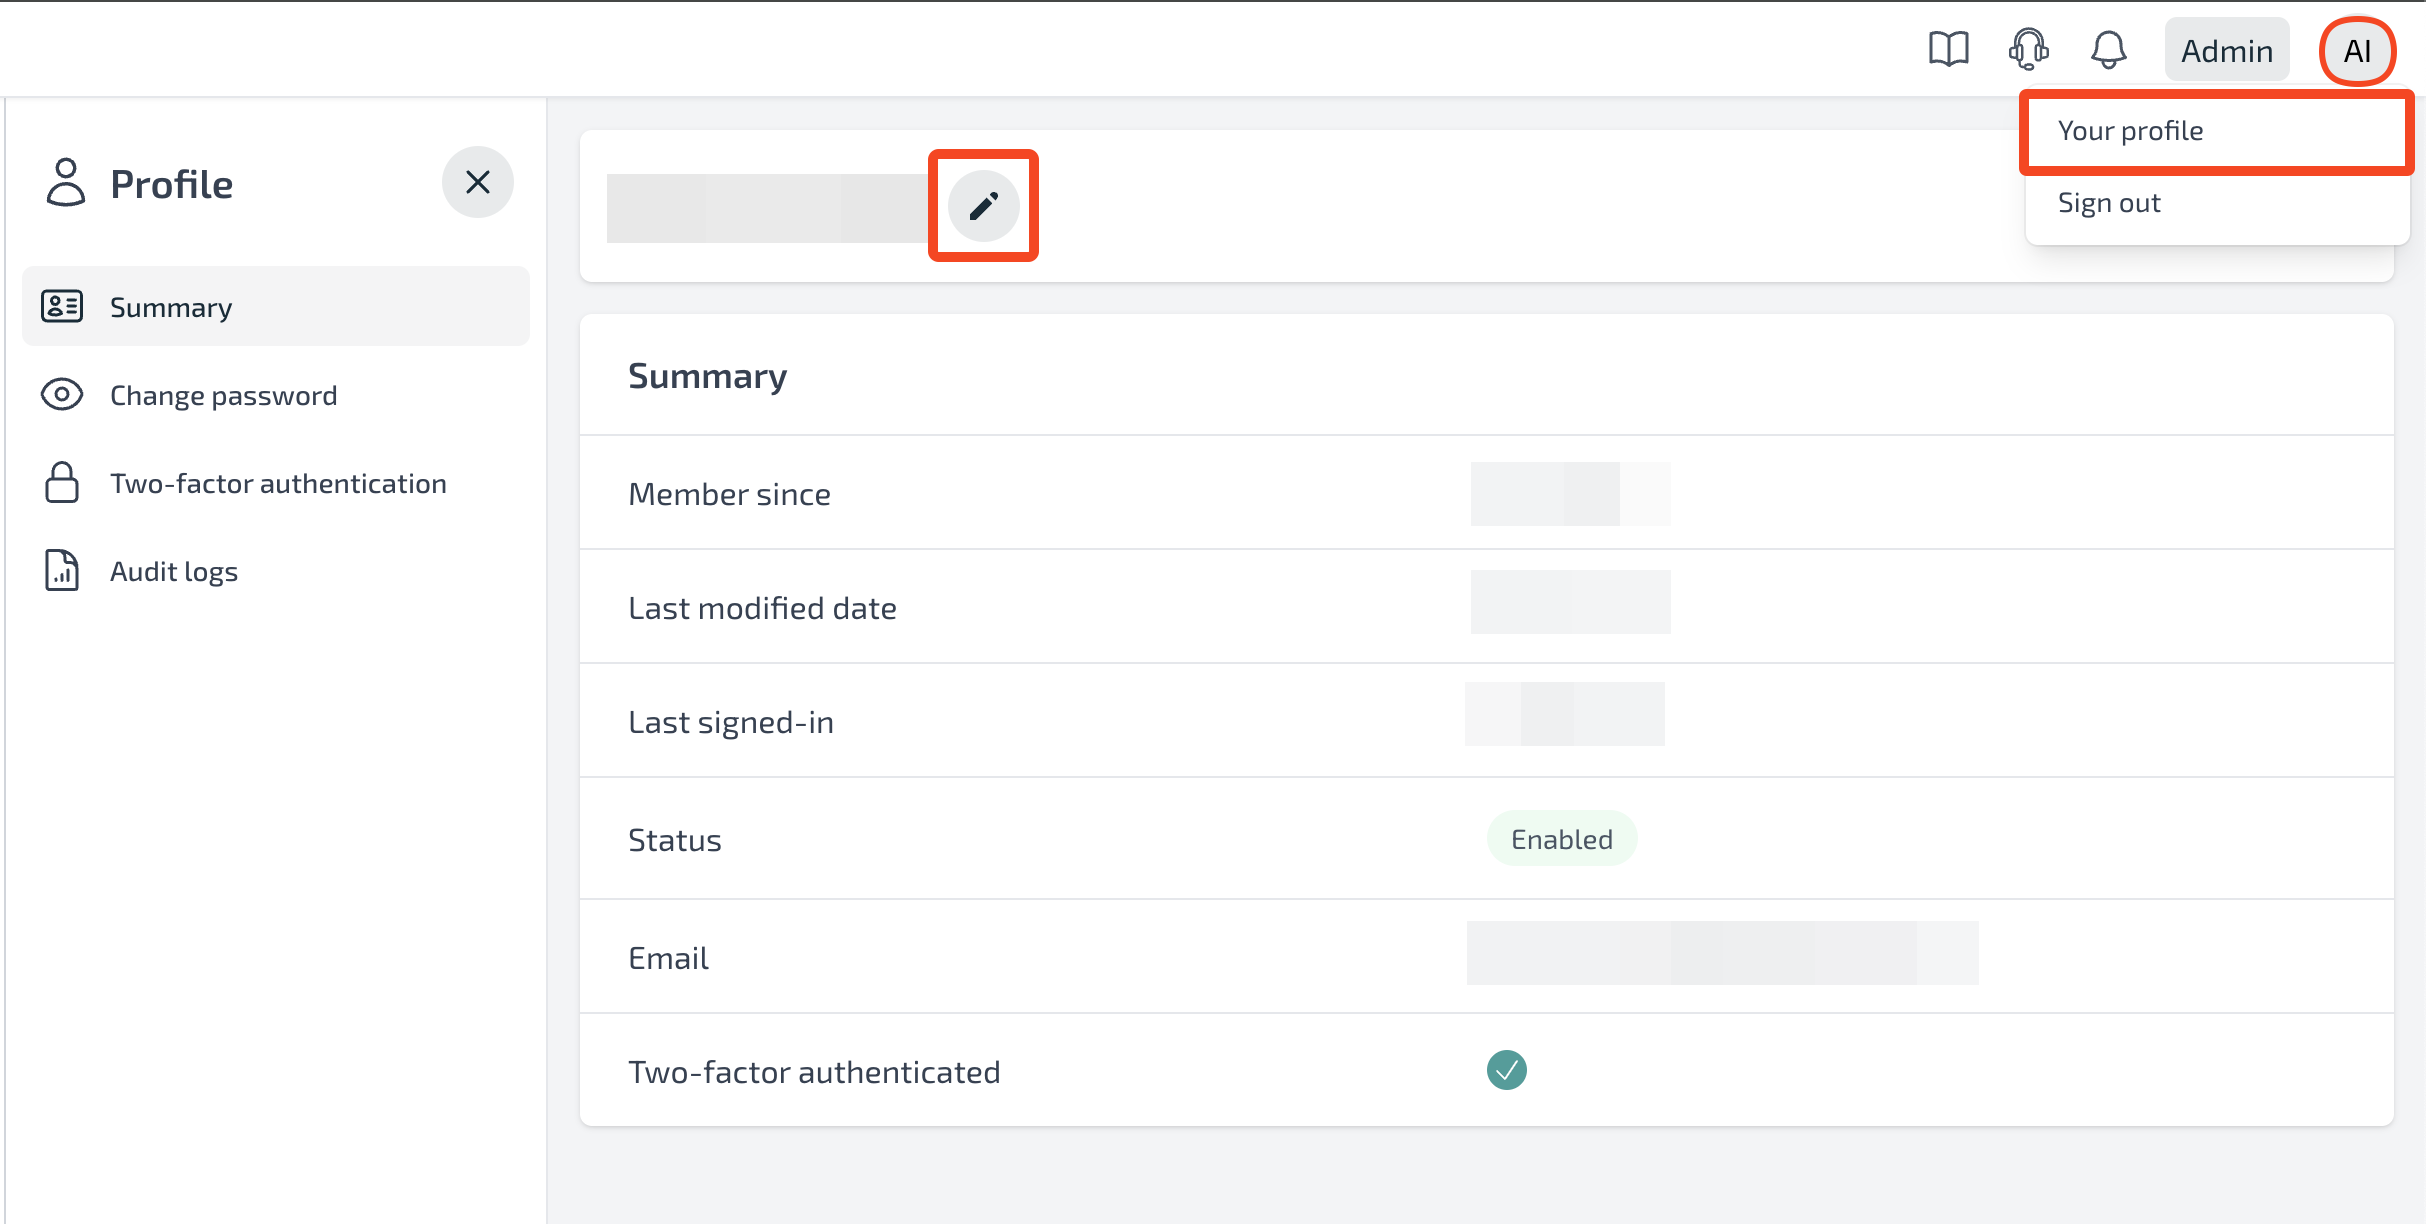
- On Display Name, if you want to allow users to choose their display name then leave this as unchecked. However, if you want to map the Okta user's first name and last name as the user's display name, then click on it and configure the attribute statement.
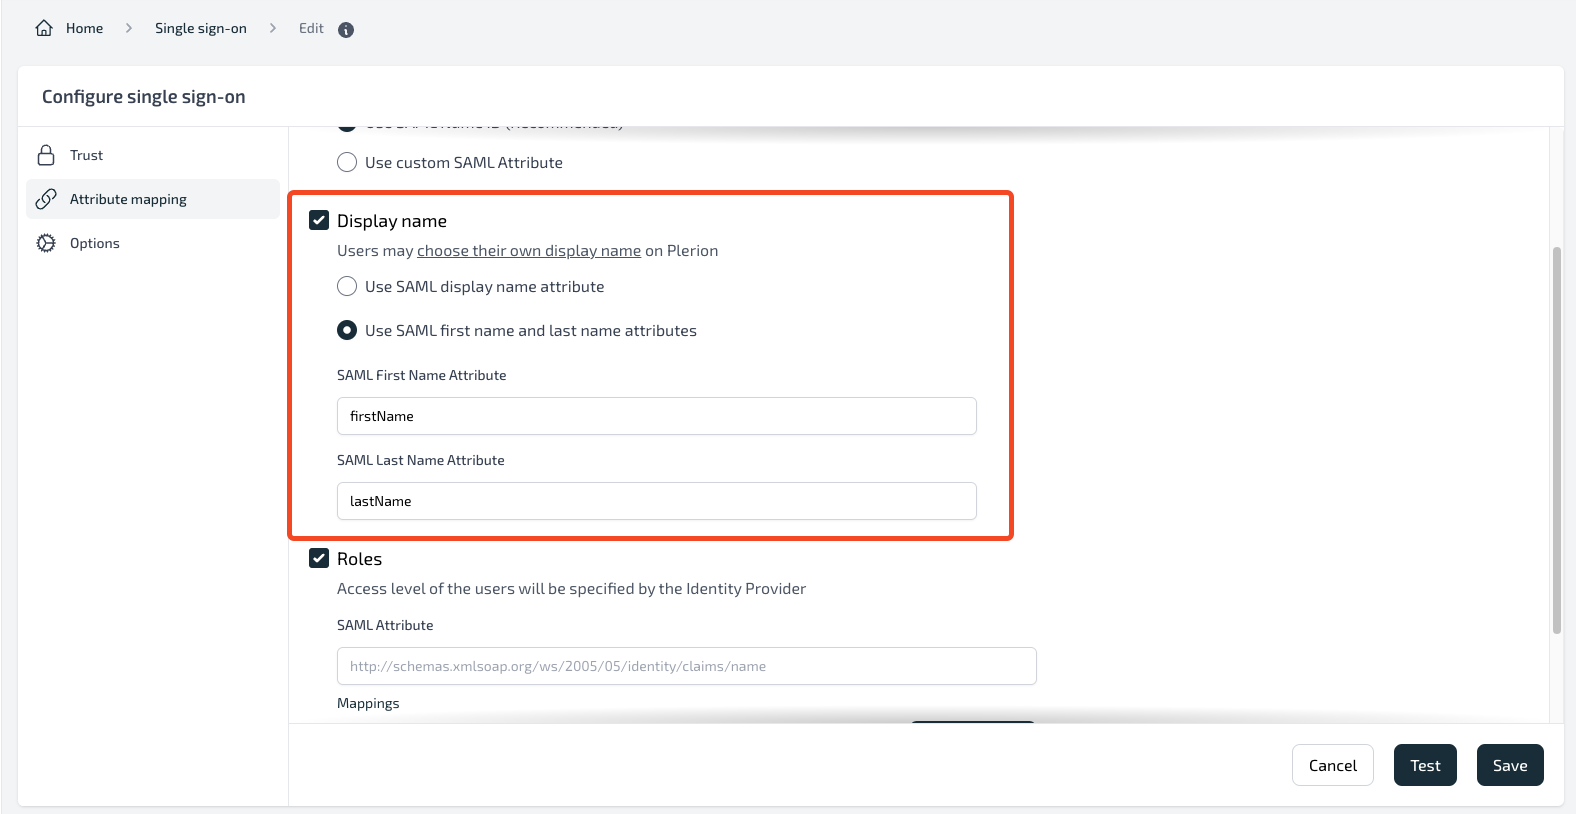
Note: Users can choose their display name by logging into their account and navigating to their profile.
-
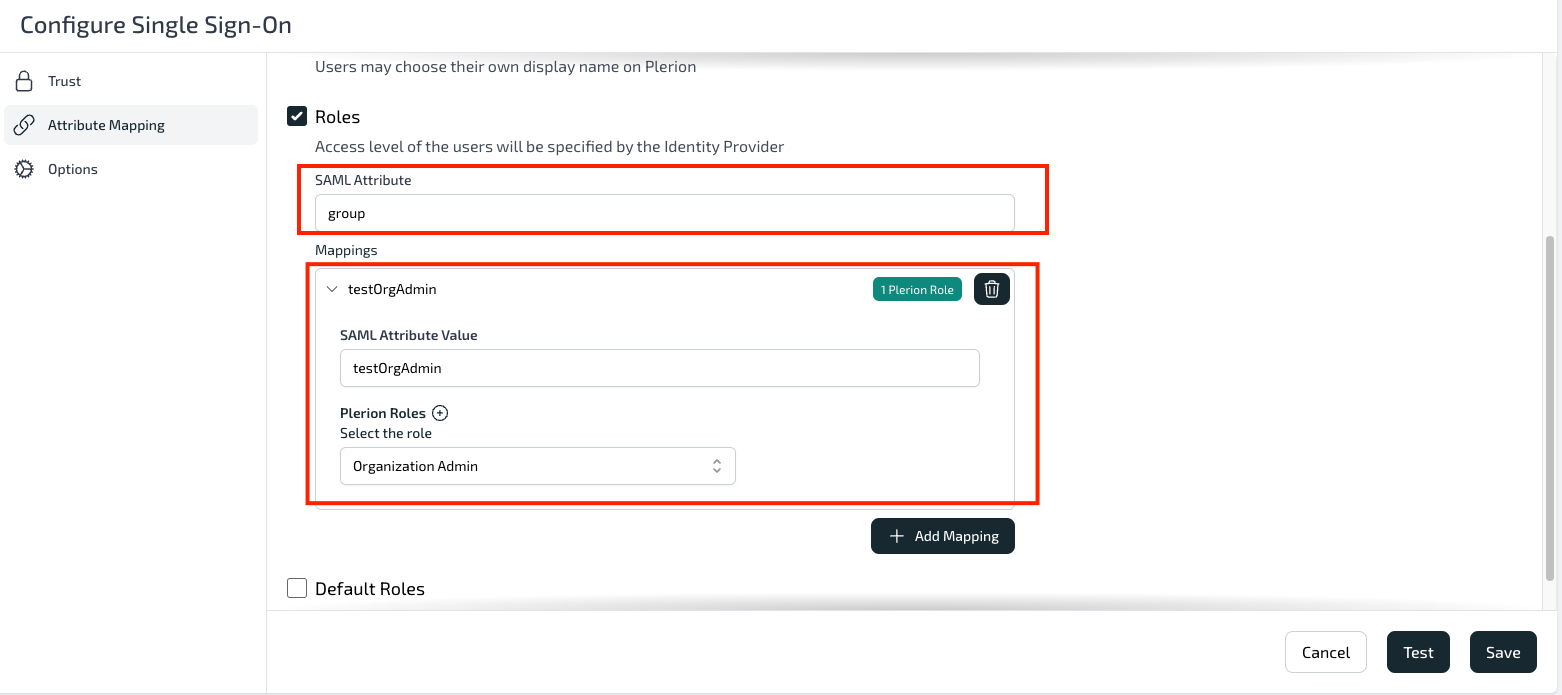
Click on Roles. Provide a name group for the SAML attribute.
-
Click on Add Mapping. Provide the name testOrgAdmin. Click on (+) to map the Plerion role. Select the role. Here, we've selected Organization Admin. Click Save.
- Click Test to check if the attribute mapping has been configured properly or not.
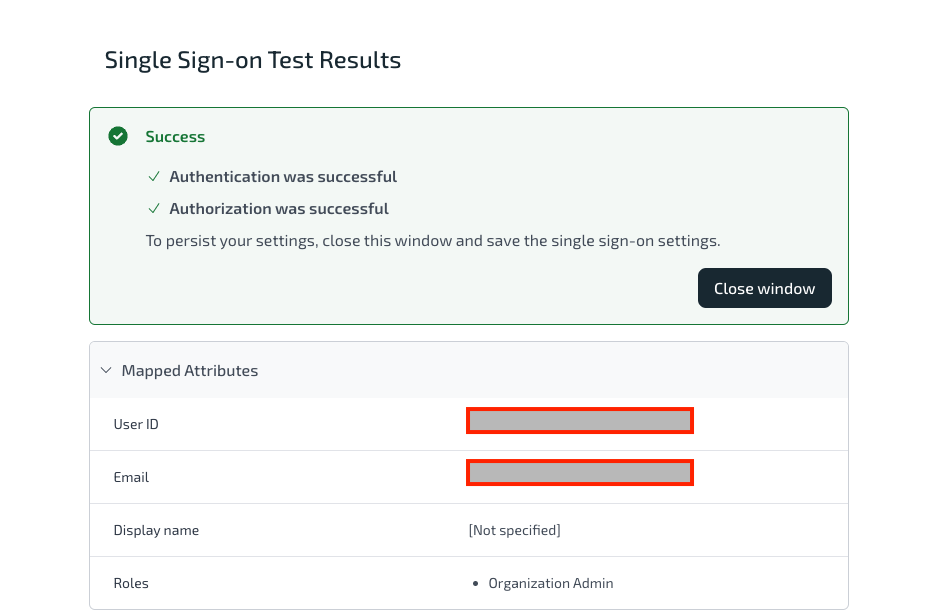
You've successfully configured for both Authentication and Authorization.
Access Plerion Platform via Okta
You can use the URL from the Okta Application -> General Tab -> App Embed link section to access the application.
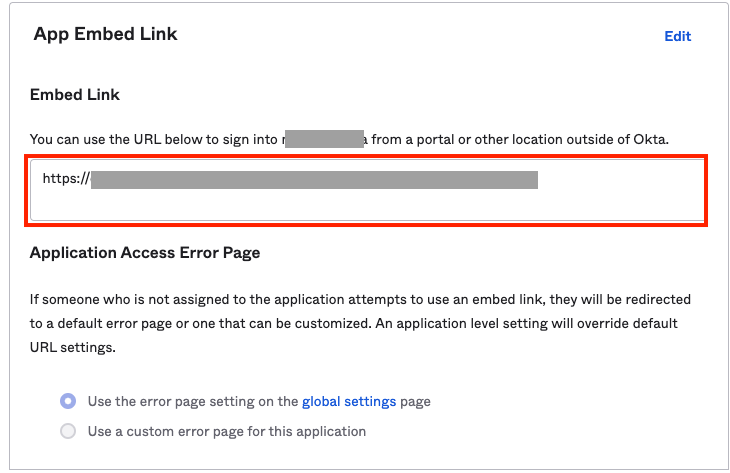
You can now access the Plerion Platform using the email and password for your newly created user account via Okta. Here, you will be logged in as an Organization Admin. You can create your different groups in Okta and map with a different role in the Plerion Platform.