Microsoft Azure Active Directory Integration
Steps for adding Azure Active Directory Integration
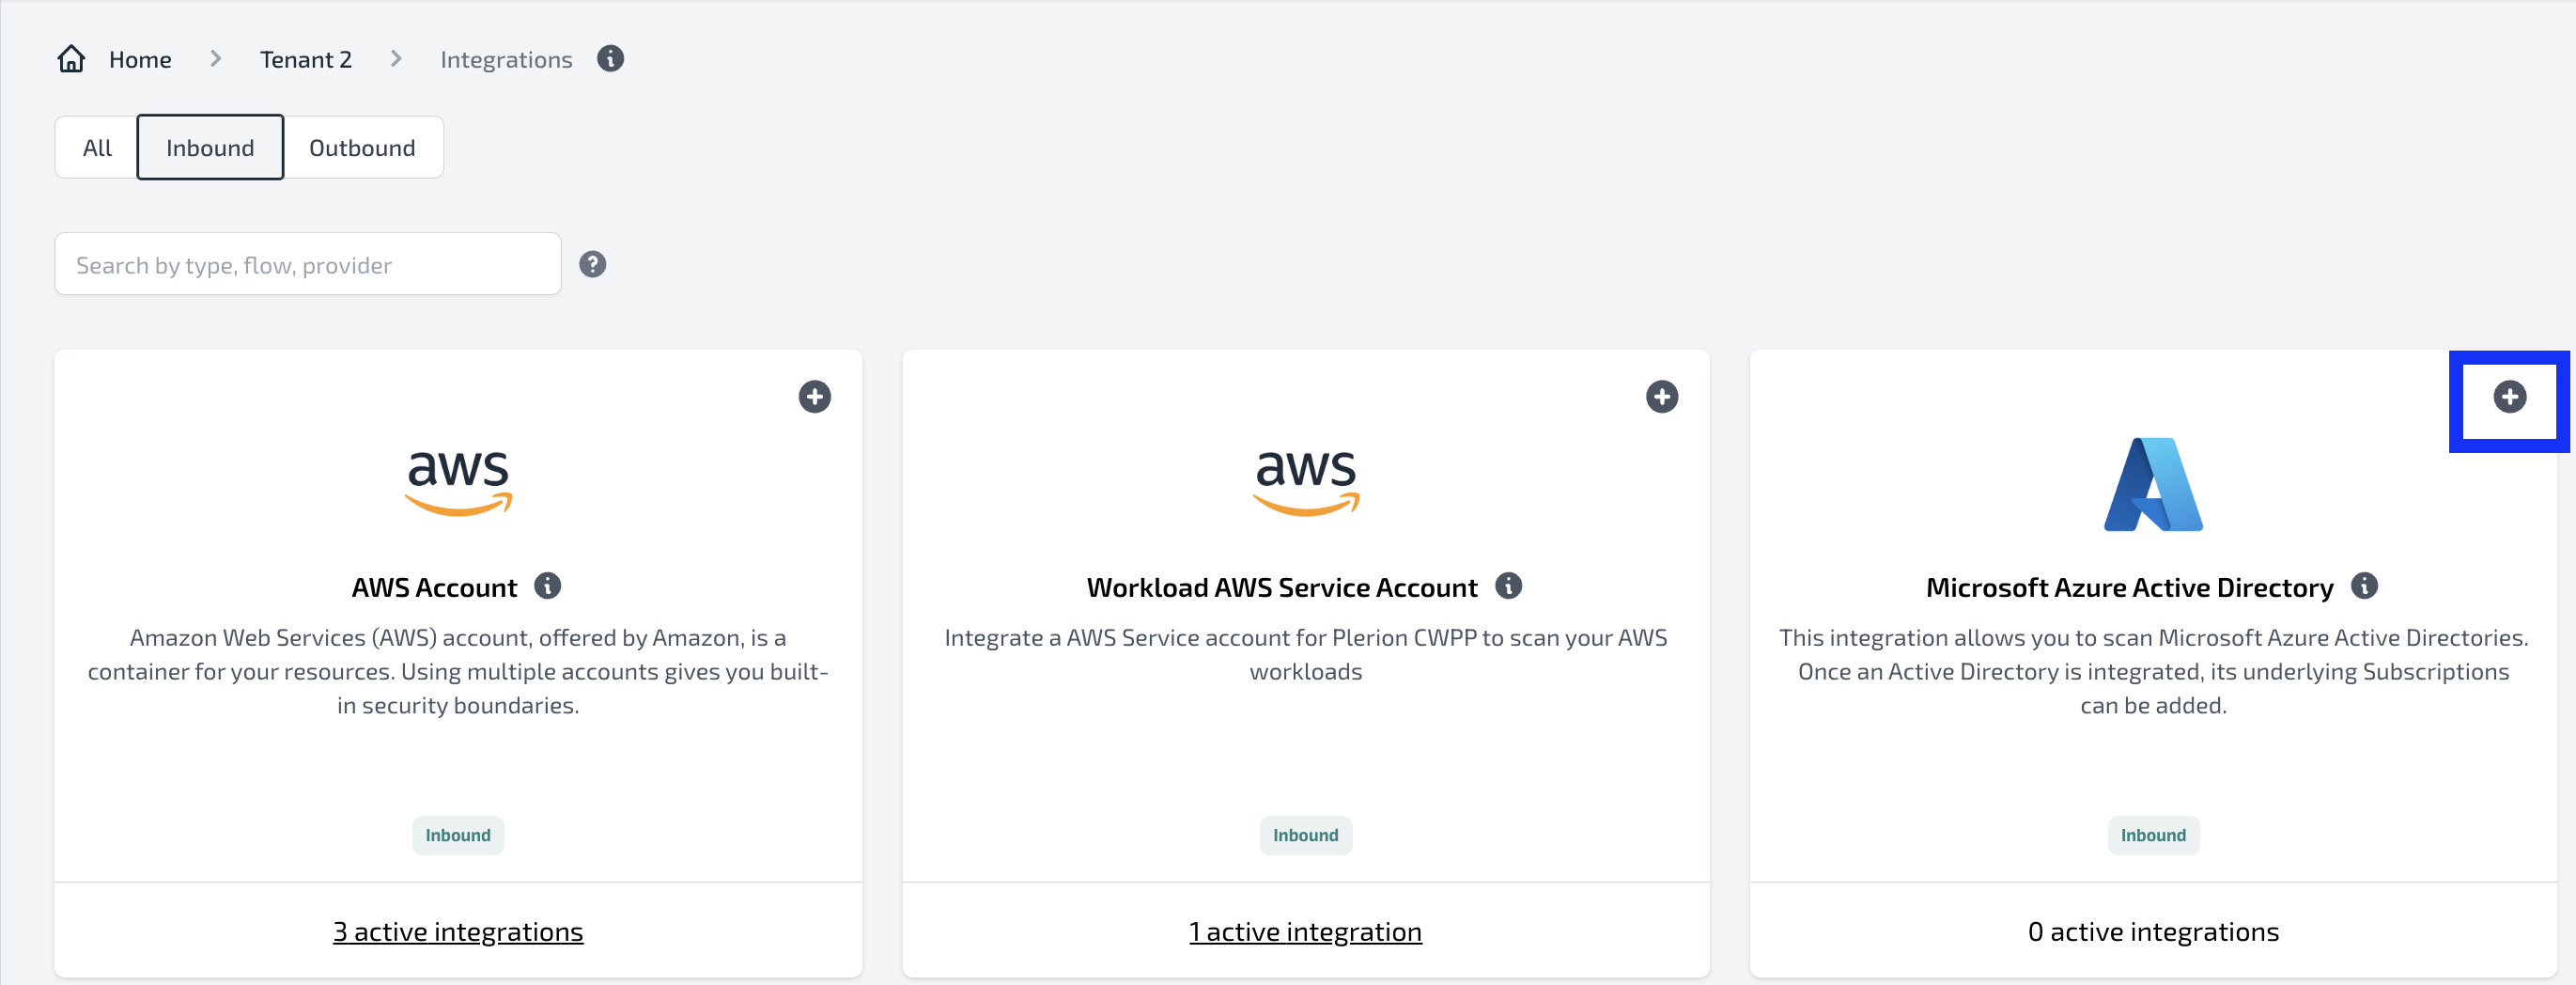
- Navigate to Tenant Settings - Integrations. Filter by Inbound integrations and select Azure Active Directory.
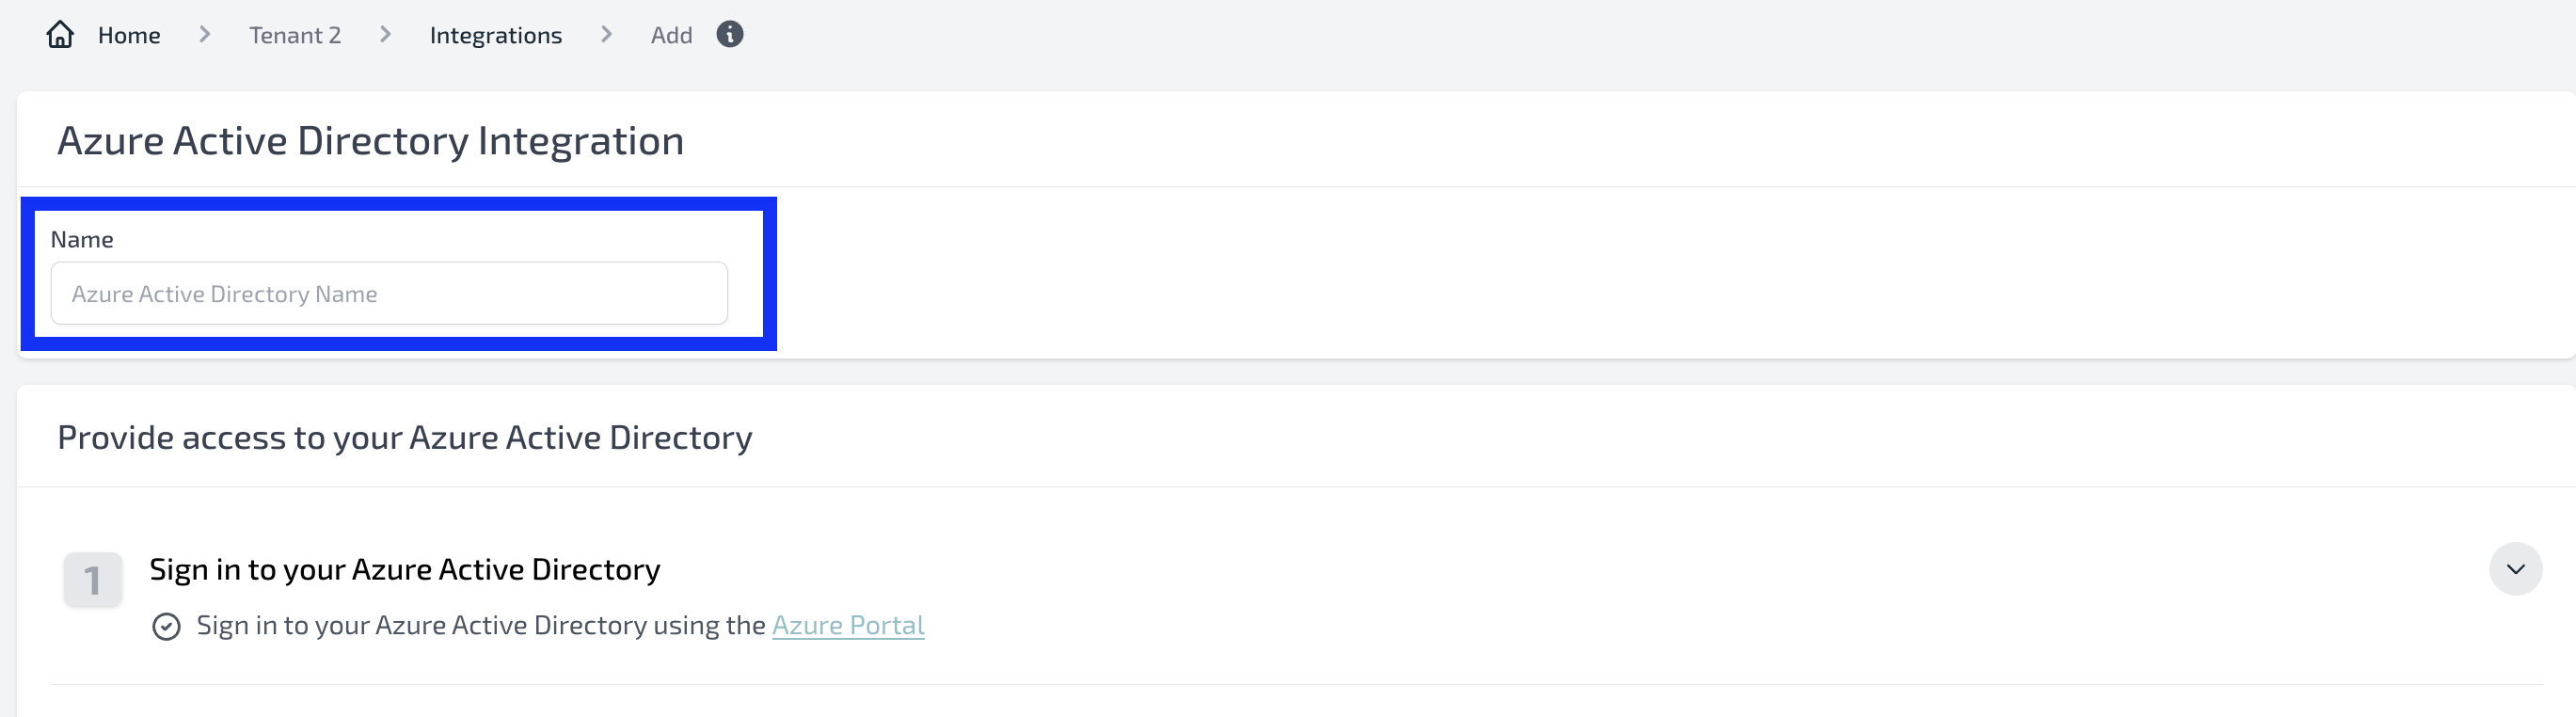
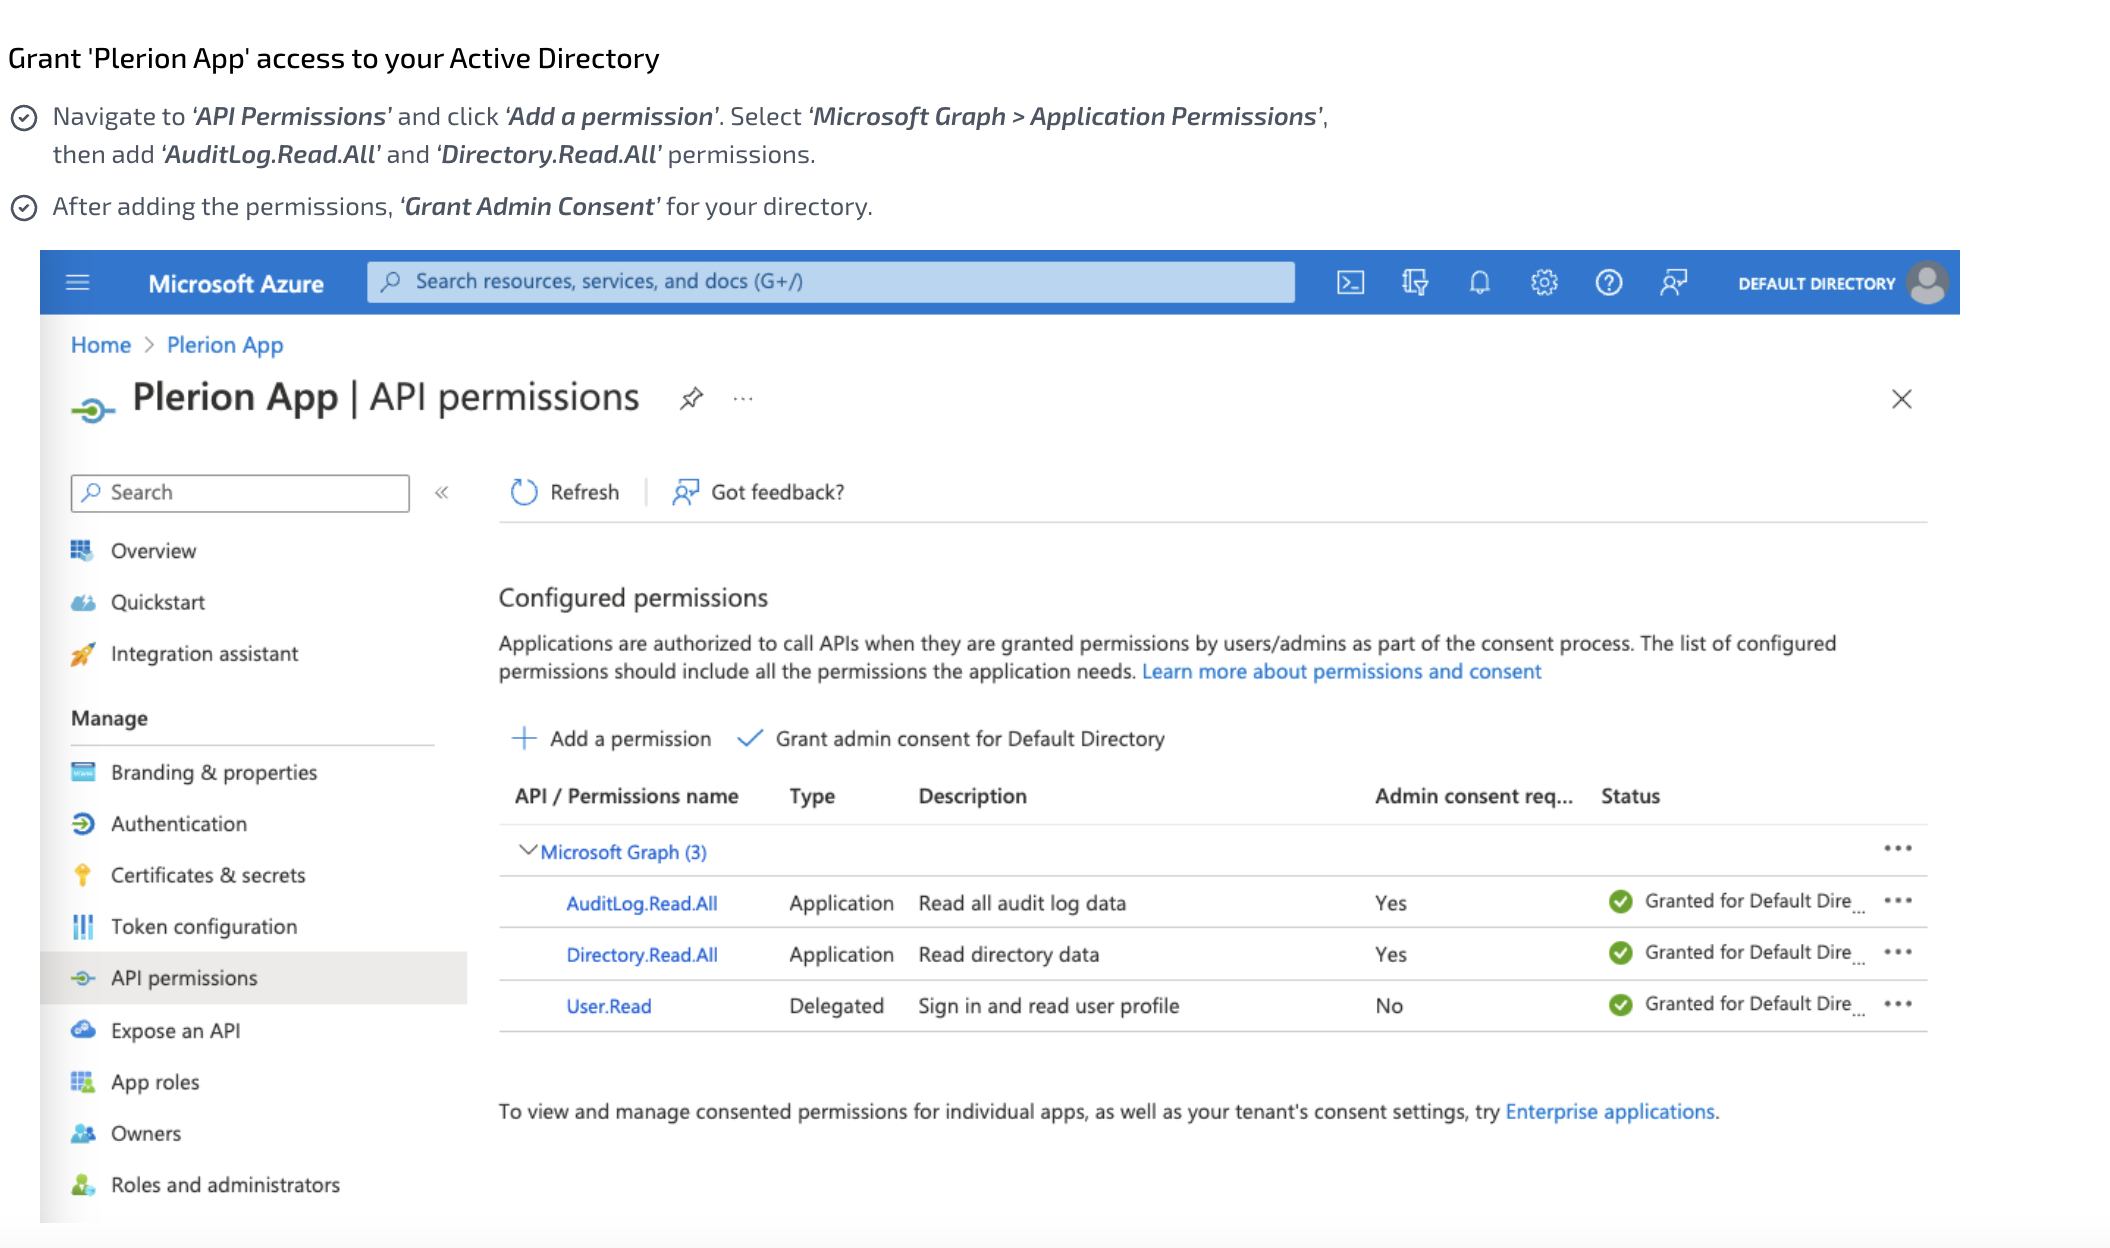
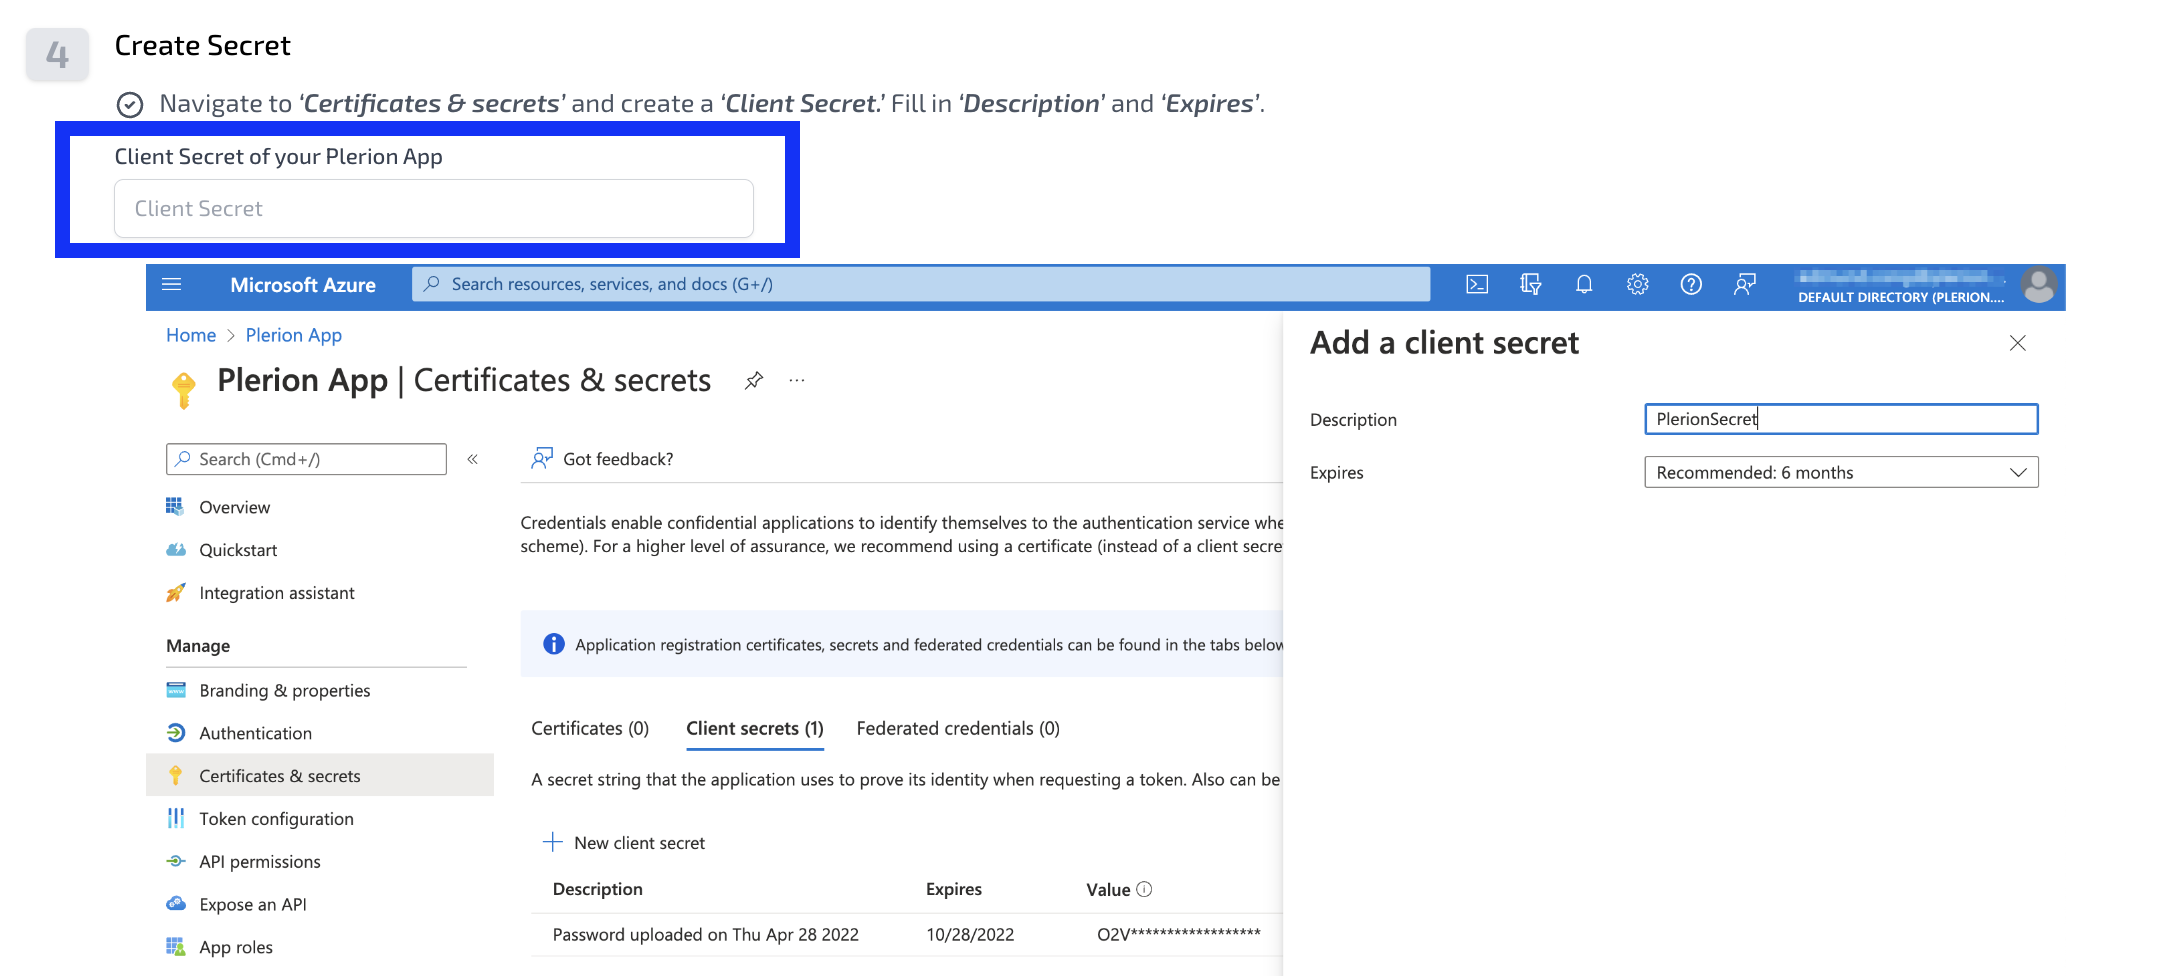
- Provide a name for the integration and follow the instructions mentioned on the page. To add an Azure Active Directory Integration, users should first create an App registration with permissions mentioned in the instructions.
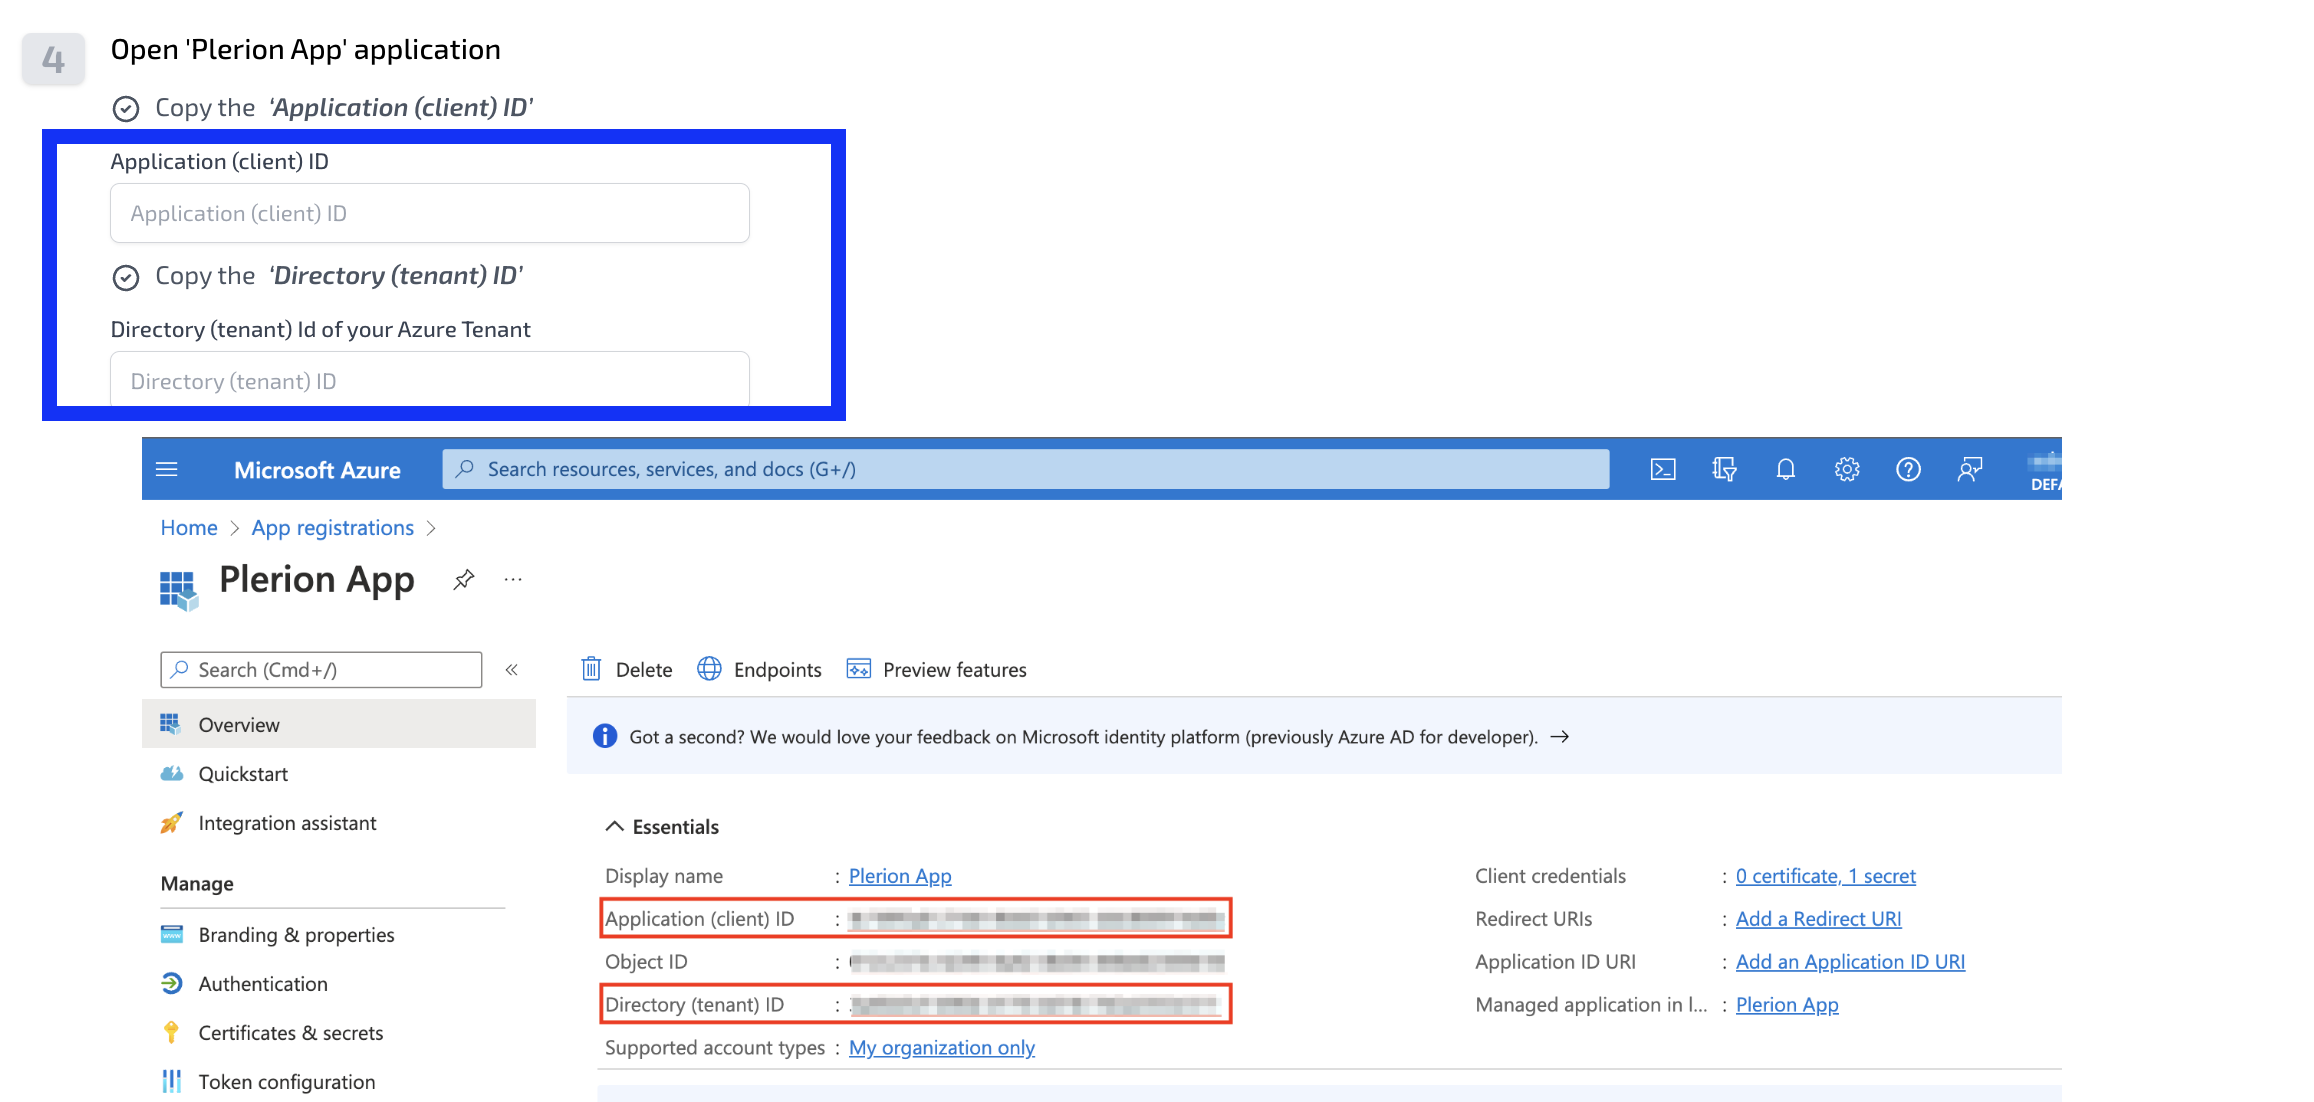
- Provide the Application ID, Directory ID, Client Secret and select 'Add Active Directory'.
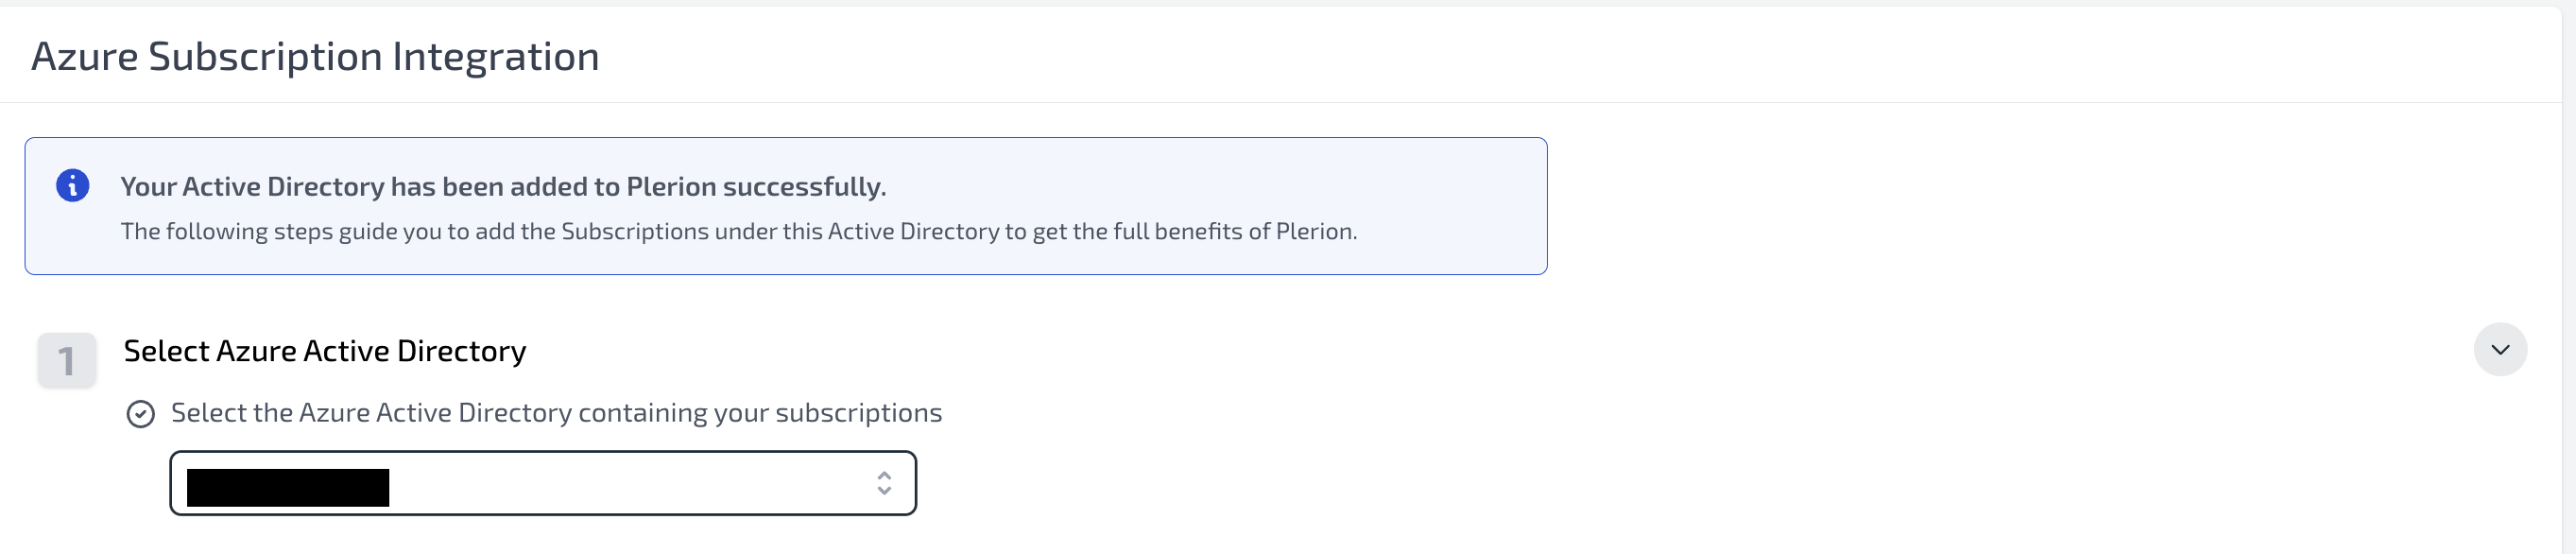
- Once the Azure Active Directory is added, users will be prompted to add the Azure subscriptions that are linked to the Azure Active Directory.
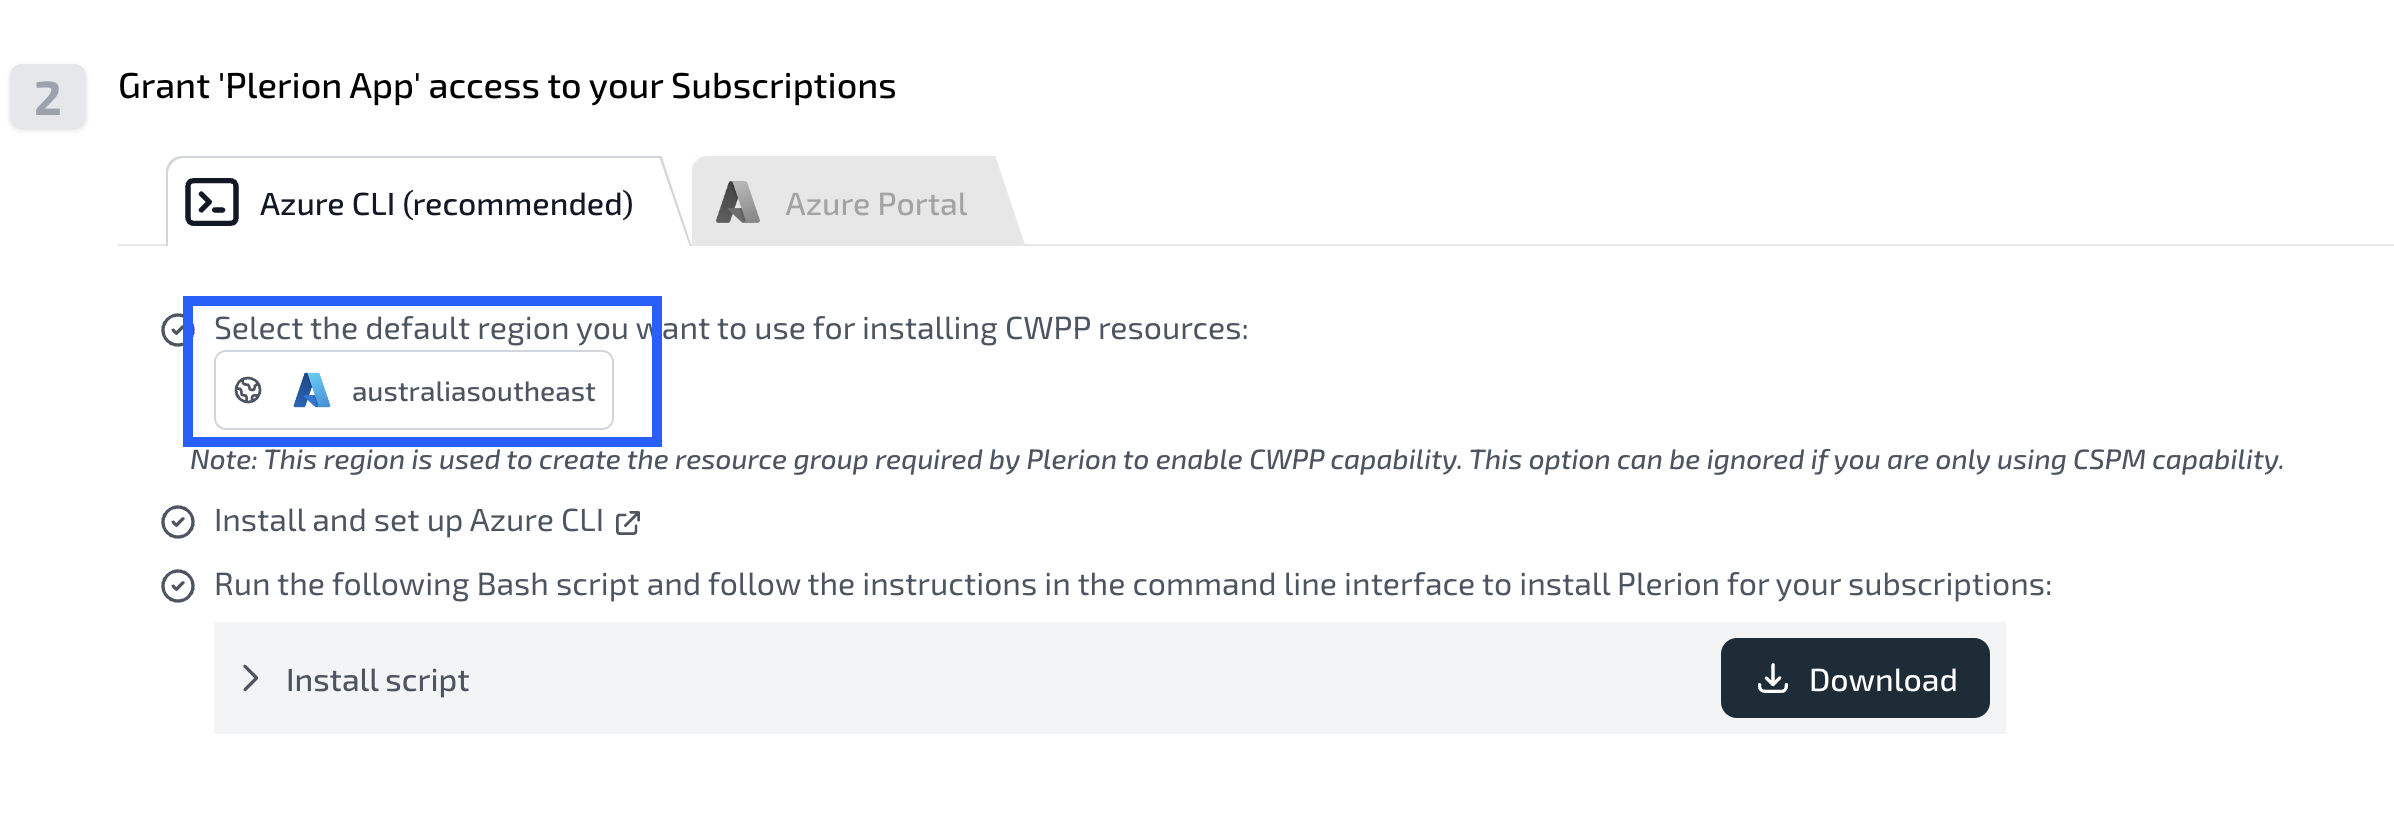
- To add the Azure subscription, users need to provide access to the App registration created previously. This can be done using either the Azure CLI or Portal, instructions for which are provided.
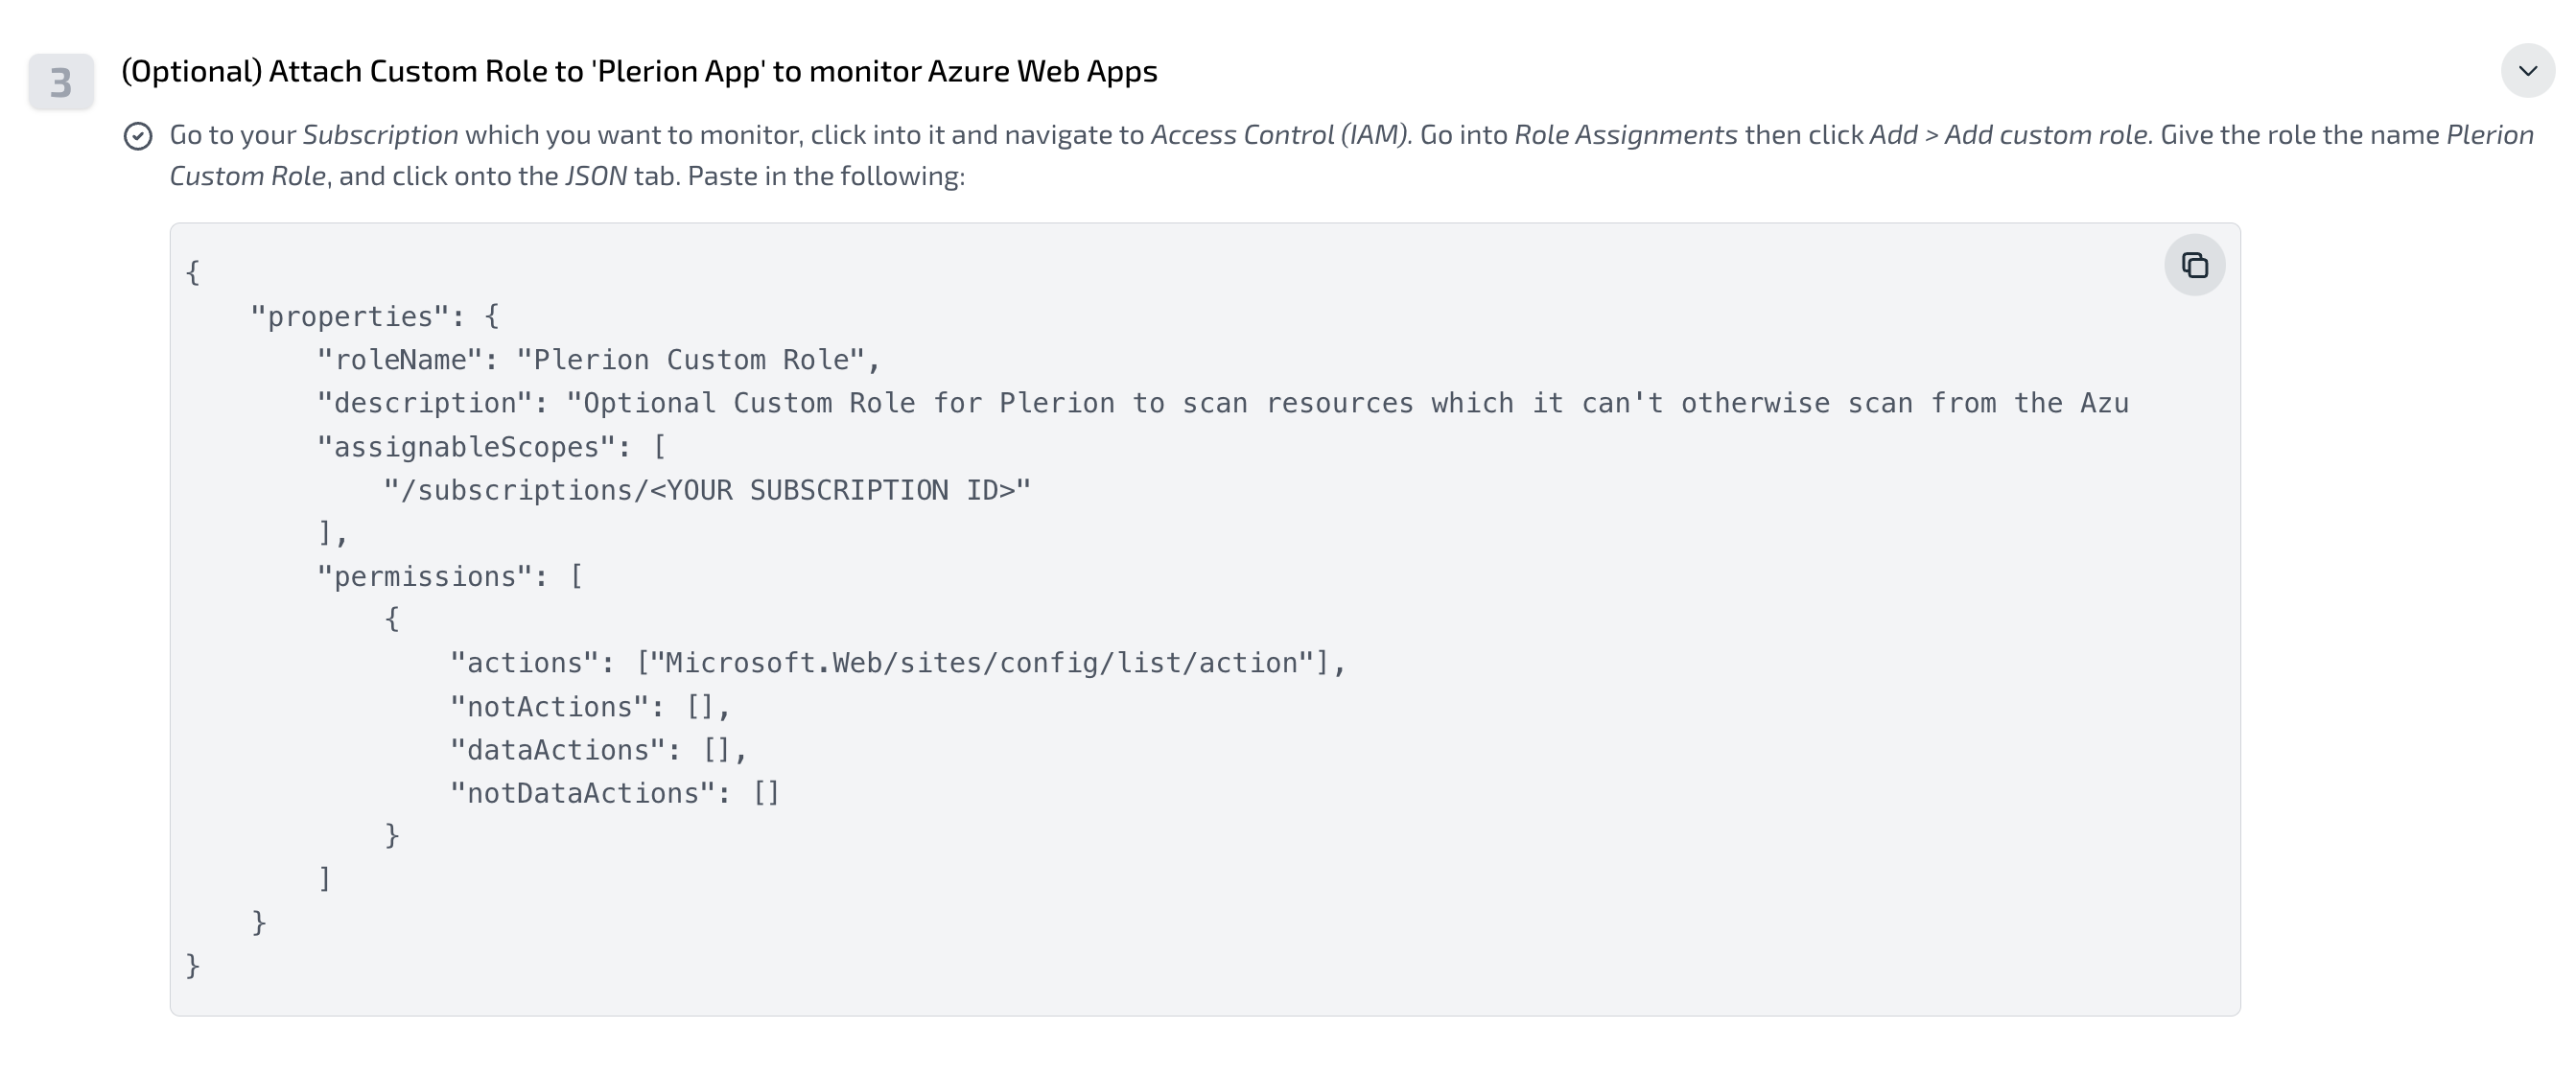
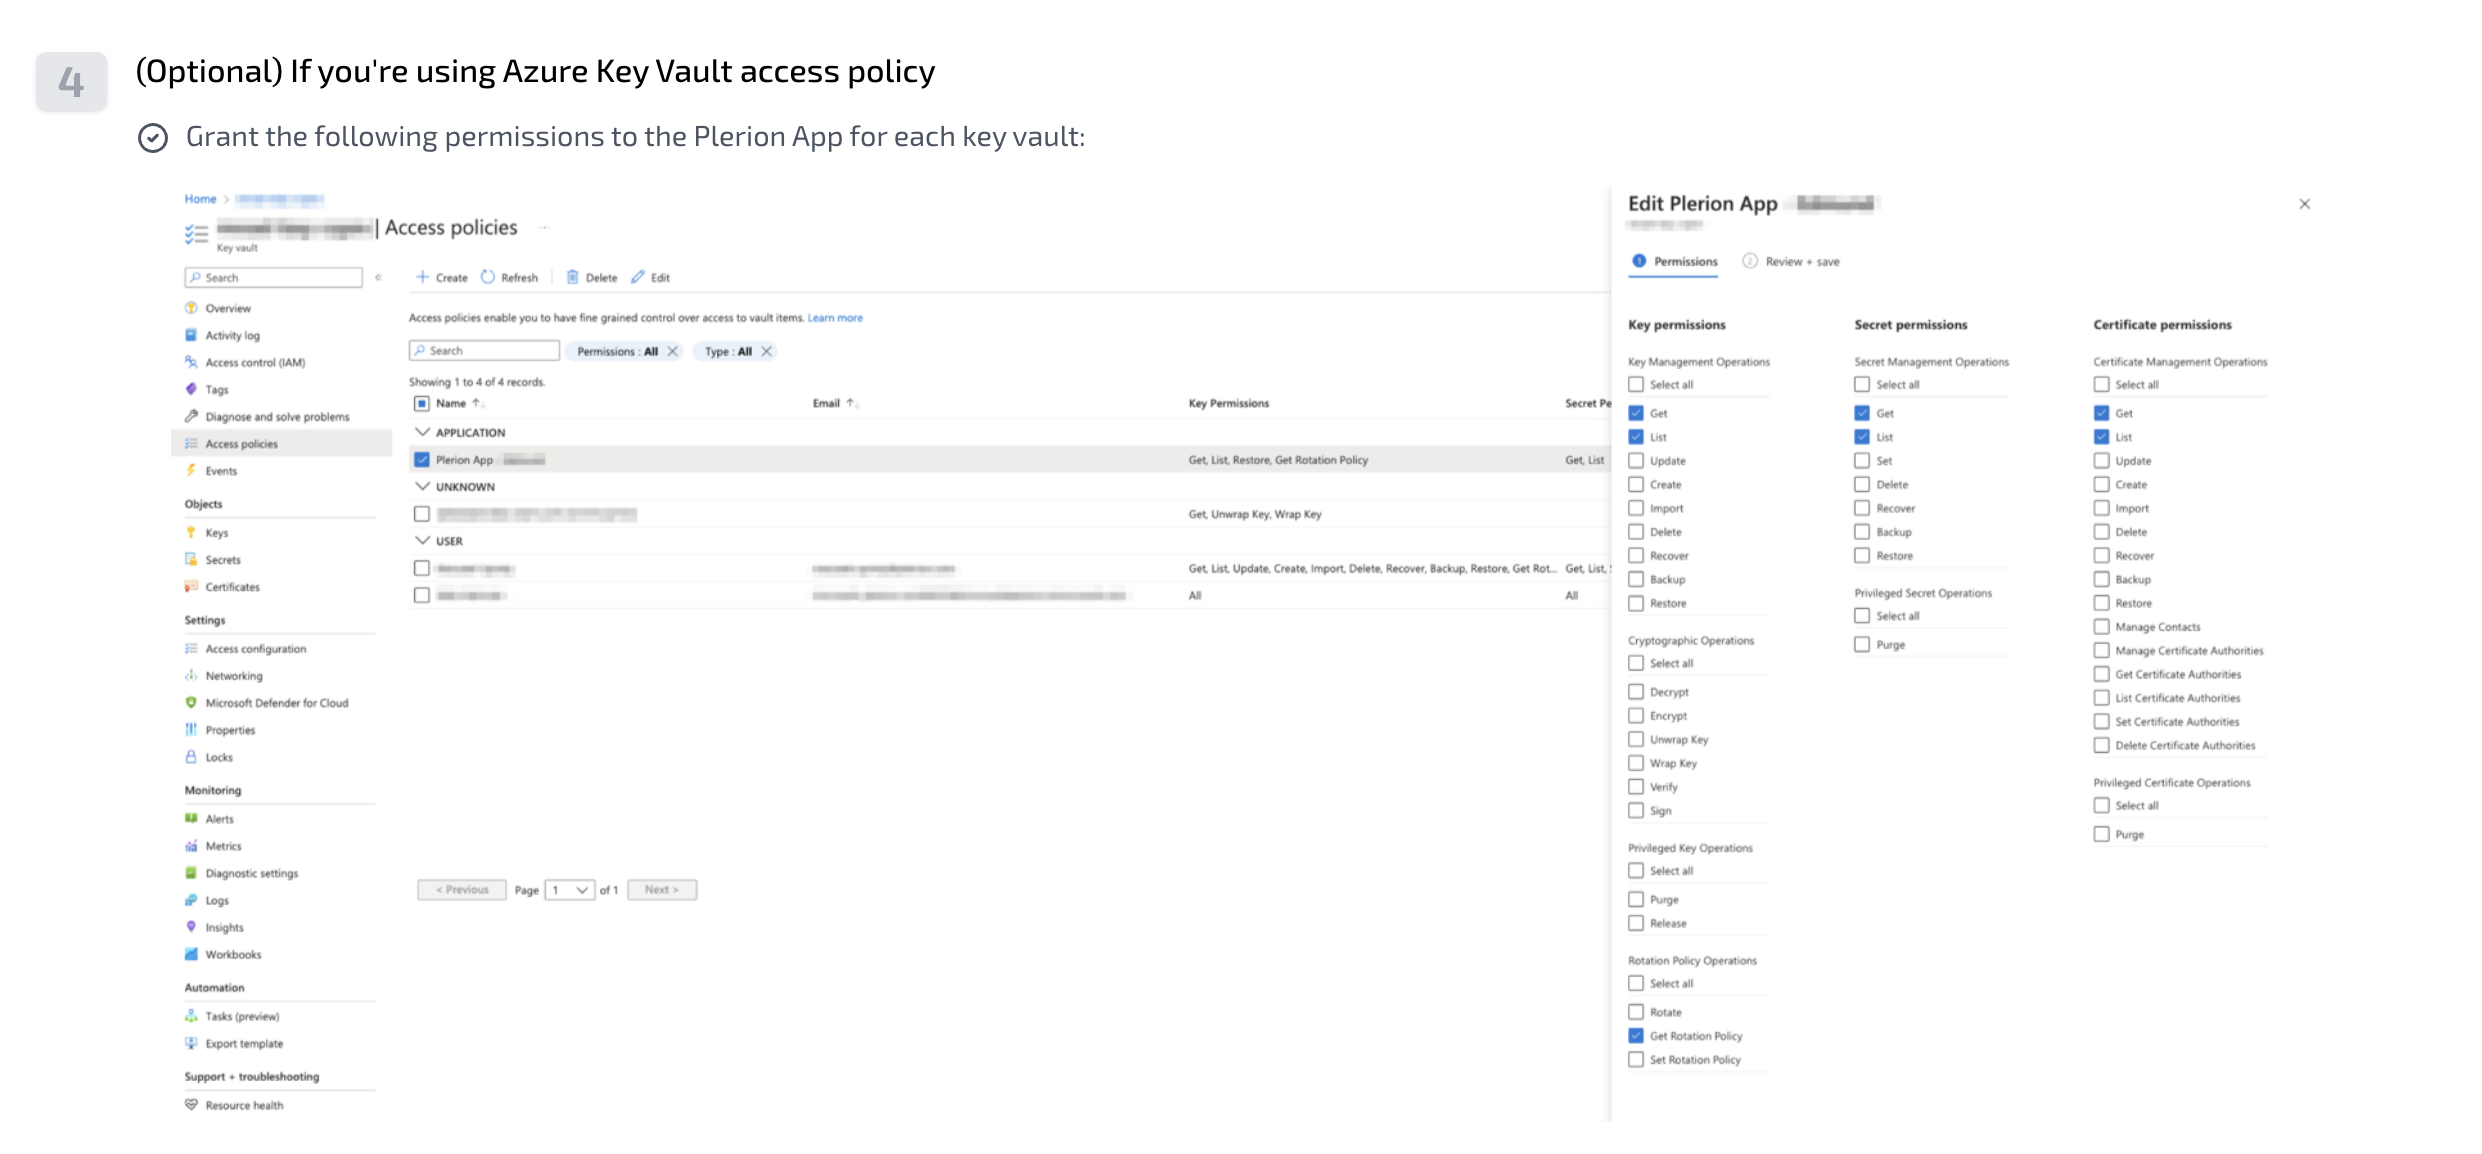
- There are other optional permissions the user can provide.
- Once all permissions have been provided, select 'Verify access'. This will then display all subscriptions added based on the permissions provided.
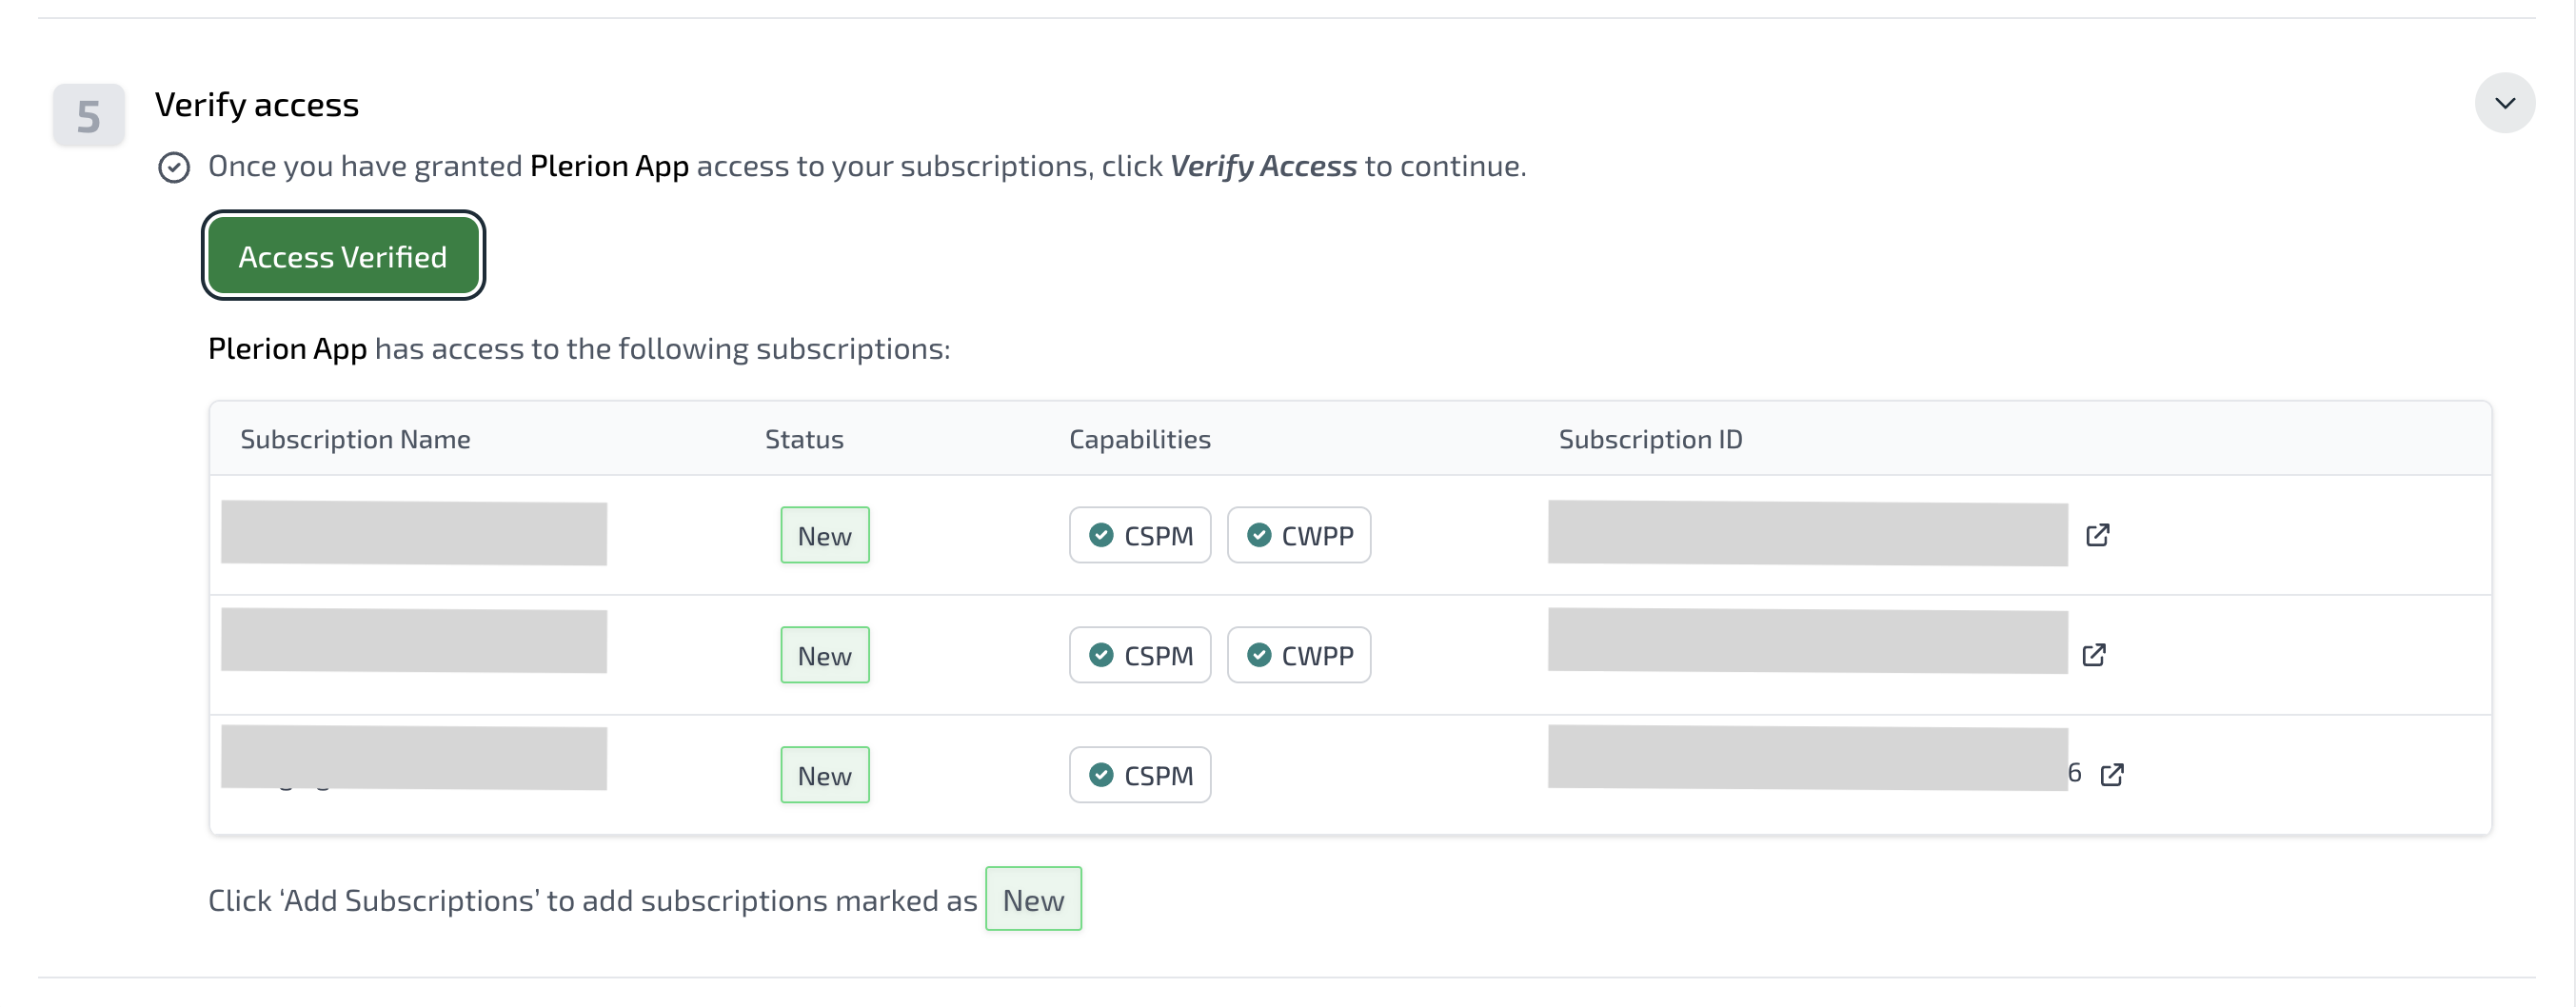
- Select 'Add subscriptions'. The Azure subscriptions will be added to the tenant.